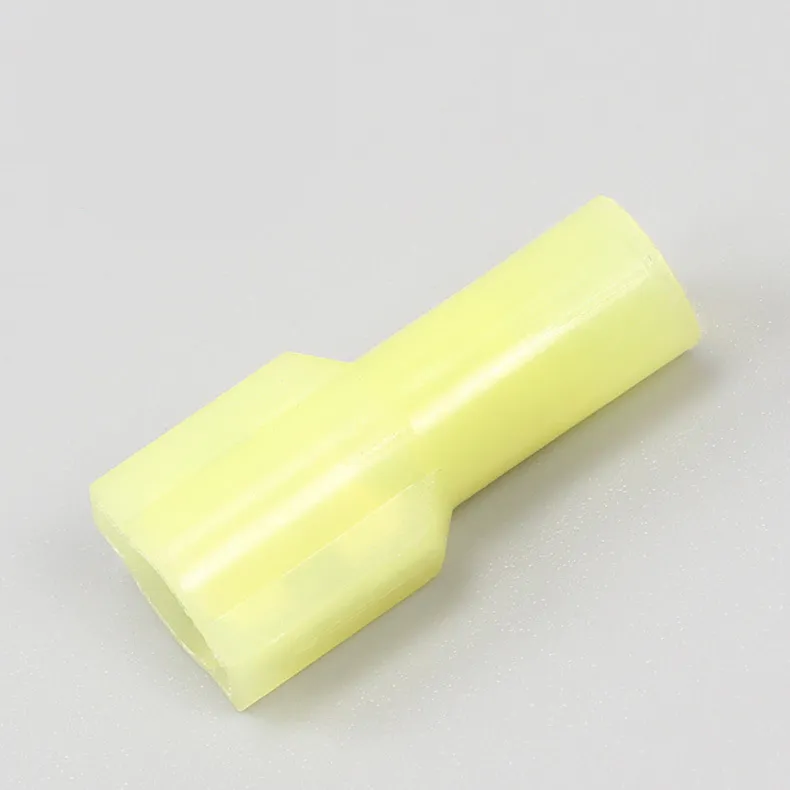
FDFN and FDFNY
Electrical Accessories
- Tape
- Terminals & connetors
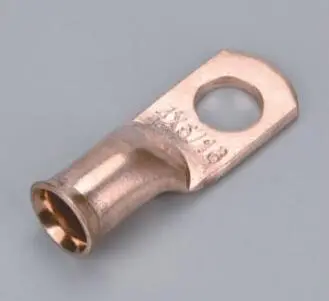
- Cable Lug
- Terminal block
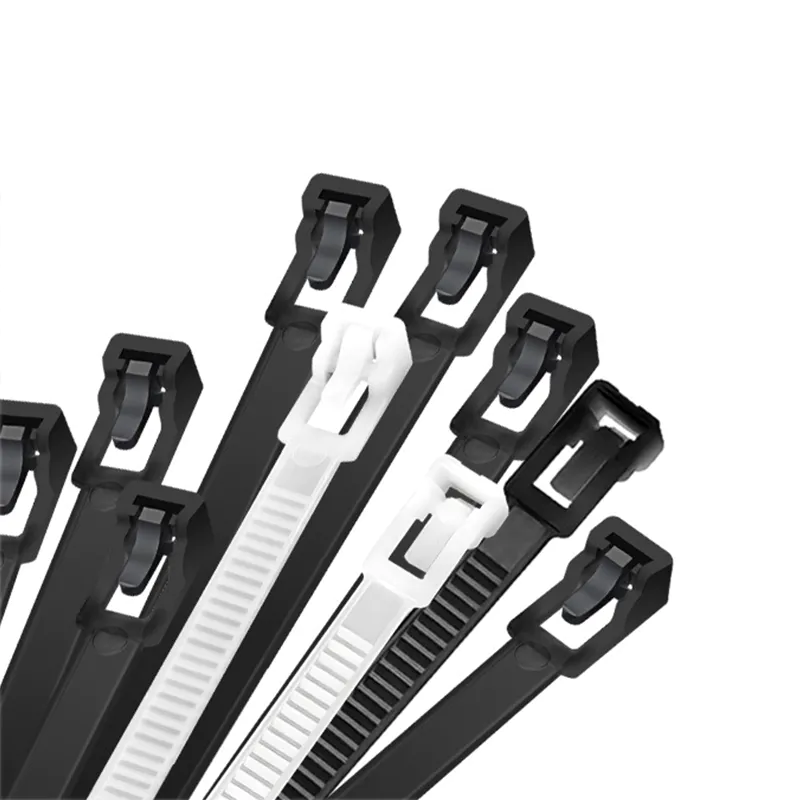
- Cable tie
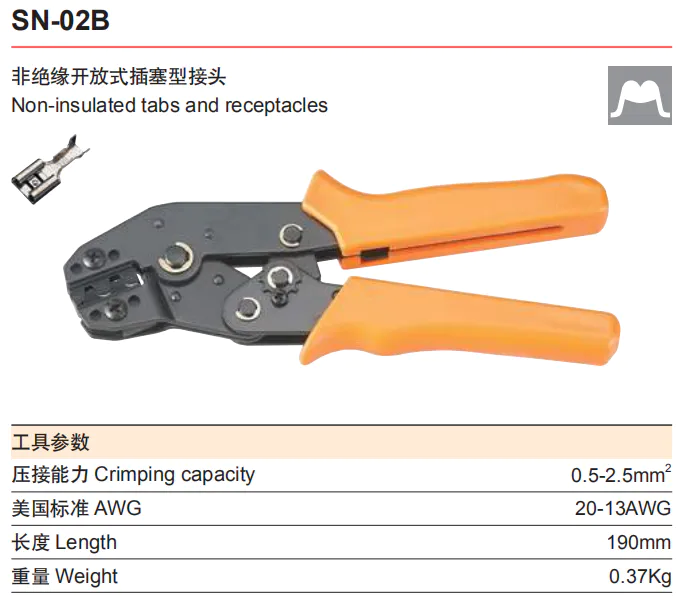
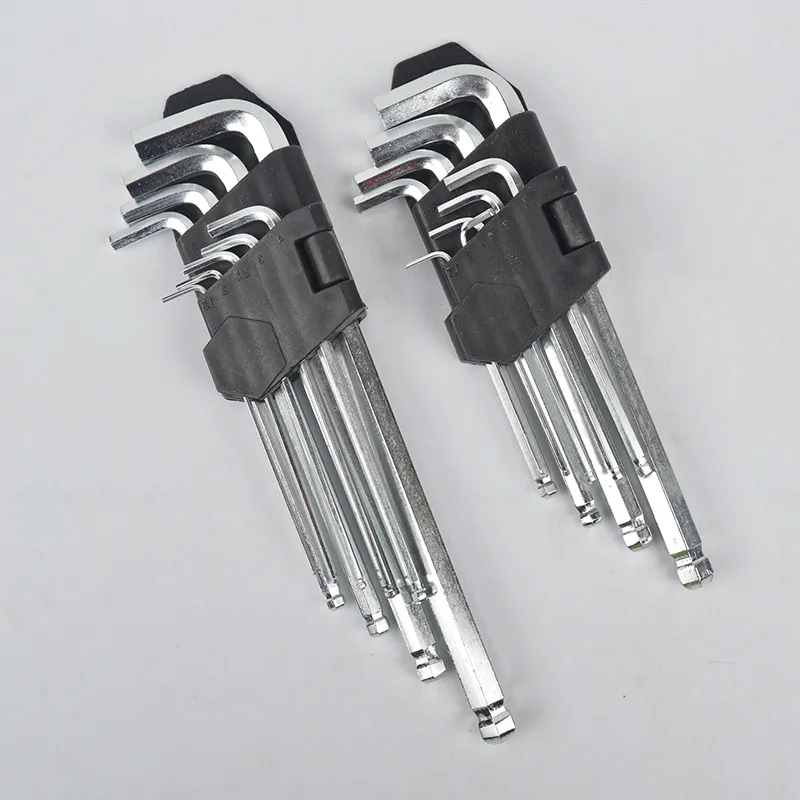
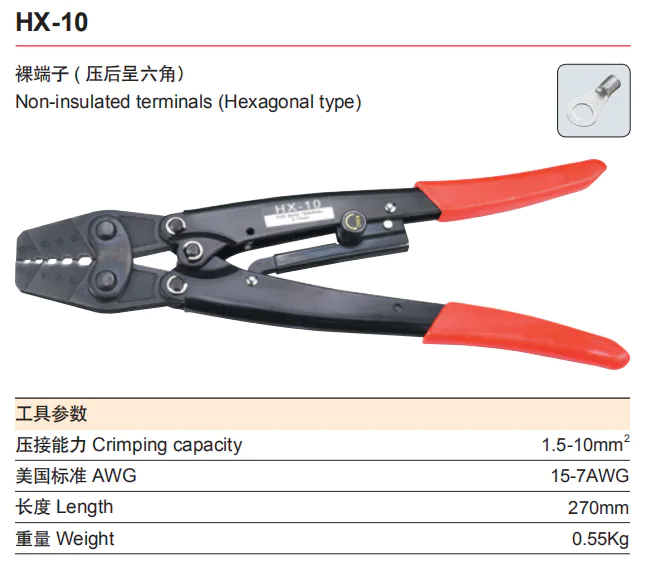
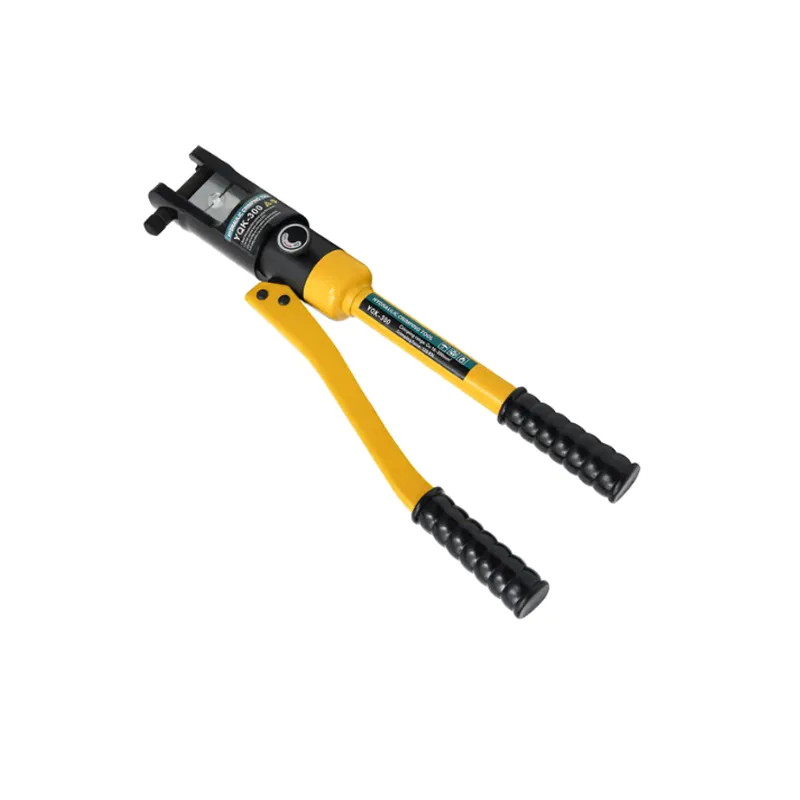
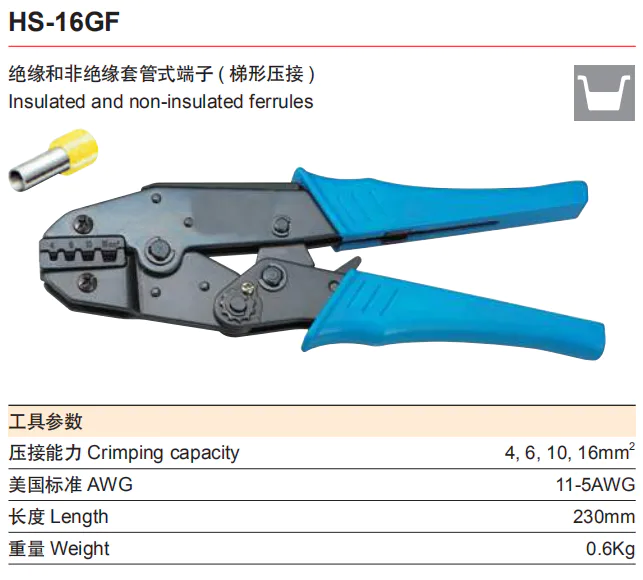
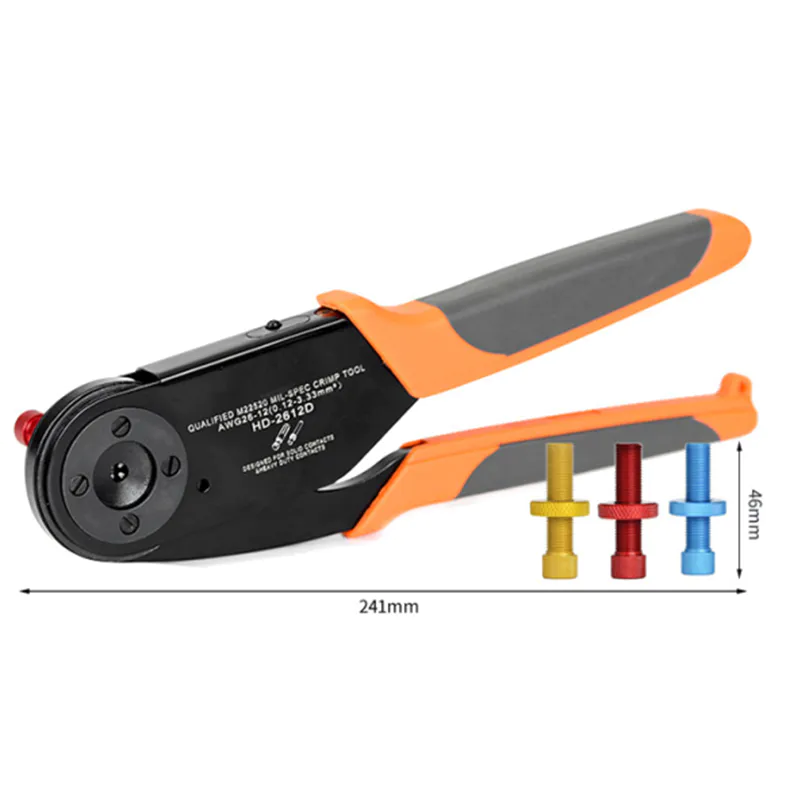
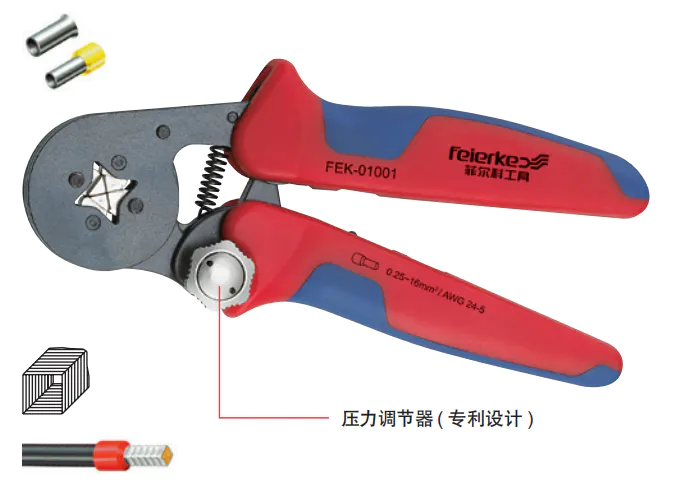
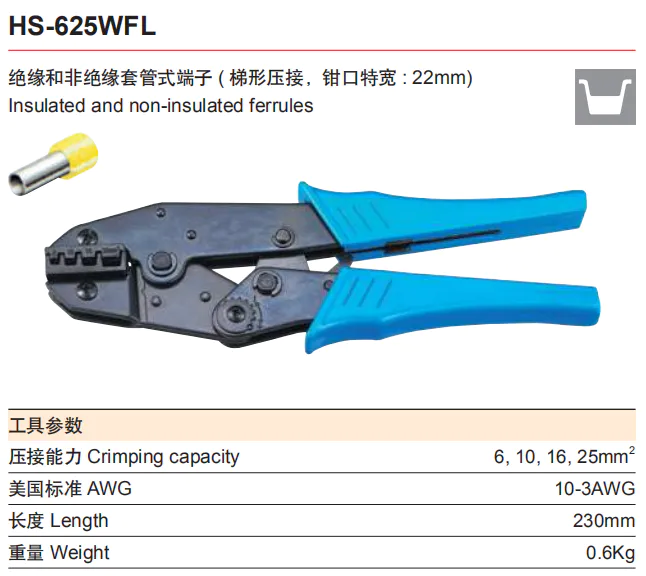
- Crimping tool
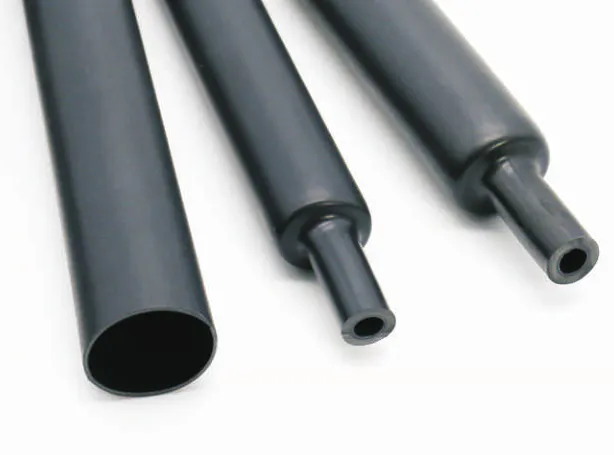
- Heat shrinkable tube
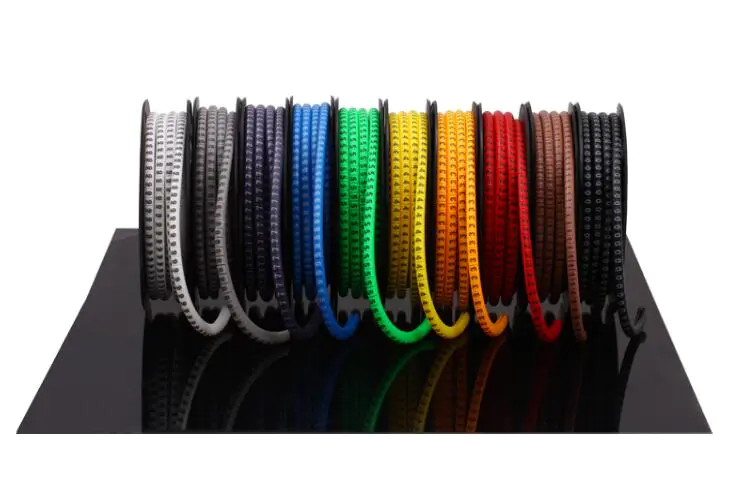
- Cable marker
- Junction box
- Cable gland
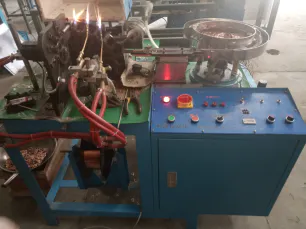
- Corrugated hose & spiral wrap band
- Wire duct
- Din rail
- Cable clips & mount
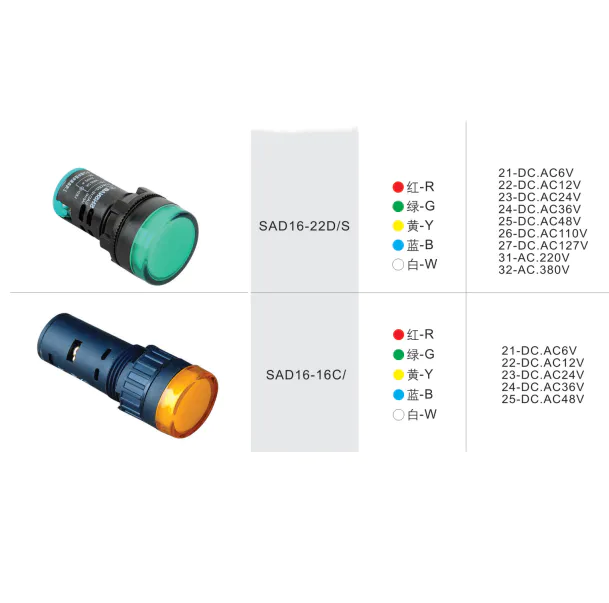
- Signal light
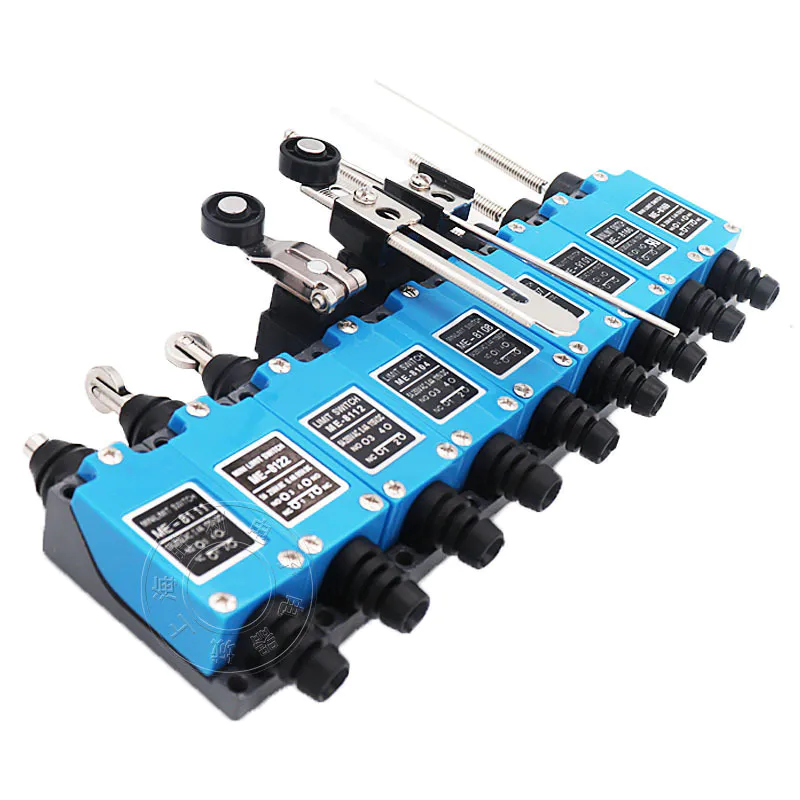
- Push button switch
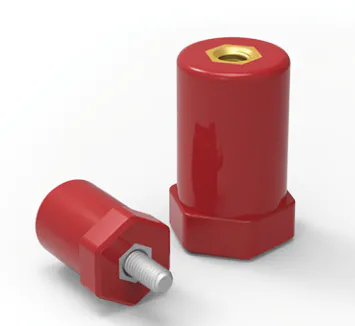
- Standoff insulator
- Pet braided sleeve
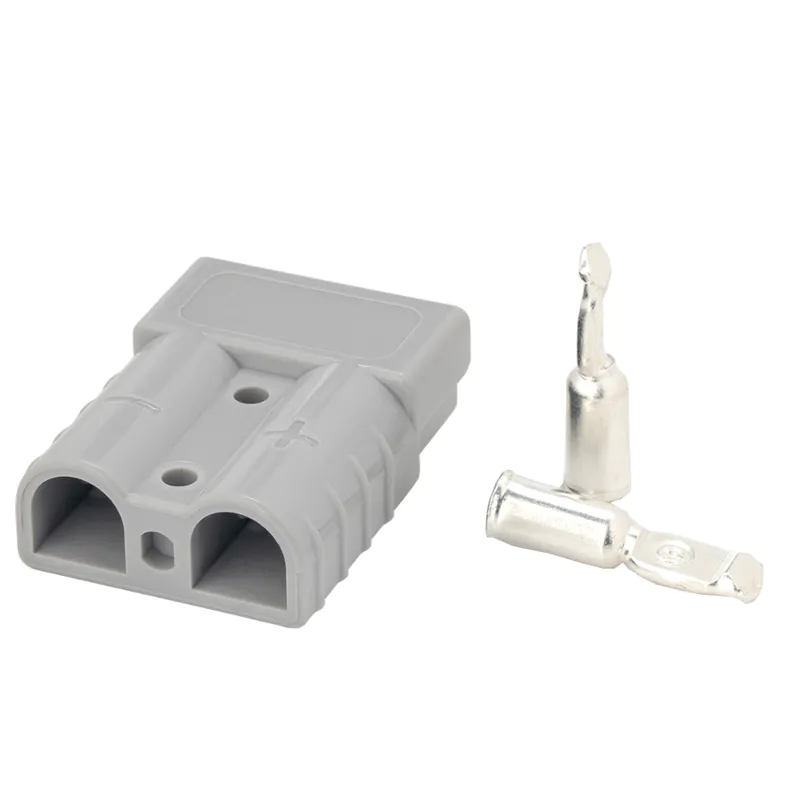
- Industrial plug & socket
- Auto fuse
- Others
Build Your Own Portable Stainless Steel RIMS Tube - and the Whole Thing Only Weighs Only 17 Lbs!
by:MKS
2020-02-28
I\'m a long-time family winemaker, but I \'ve been doing a step-by-step infusion.
I \'ve always wanted a rim or HERMS system, but I don\'t like the space occupied by the whole system, and I always flinch because of cost issues.
But what about an independent portable rim tube system?
What can I use for my existing 10 gallon GOTT cooler mash tun?
This is how my portable rim tube was born.
It is very light, only 17 pounds, it can be easily stored in more than 20 days of the month when I don\'t brew beer.
So, it also makes the wife happy because I don\'t have that much space in the garage.
This is a guide to build your own portable rim tube step by step.
Here\'s an updated instructable that shows you how to connect a more permanent rim tube to a brewing station.
Since the release of this manual, we have been responding to email requests regarding the rim tube kit, and finally we put a kit together, minus the pump and the base.
You can find our RIM tube kit here!
Type 1-815 pump-PL, P/N 0809-0196-0600 1 -Pre-
Assembled 30, 240 V power cord with twist lock plug (
Available here as part of the kit)1 -
15 \"dyed round panel (
Round Wood)1 -8\" X 1-
1/4 \"SCH40 stainless steel pipe joint (center section)2 -
SCH40 stainless steel 1-1/4\" Tee 2 -
SCH40 stainless steel 1-
1/4 \"X 1/2\" bushing (inlet & outlet)1 -
SCH40 stainless steel 1-
1/4 \"X 1\" bushing (heater element)1 -
SCH40 stainless steel 1-
1/4 \"X 1/4\" bushing (
Temperature probe)
1-waterproof electric box with three 3/4 \"holes (
As part of the kit, it has been drilled here for the elements)
1-waterproof electrical box cover (
Available here as part of the kit)1 -
Liquid tight PT100 RTD temperature sensor (
There\'s $29 here. 95)1 -
Stainless steel water heater element 5500 W 240 V screw (
Available here as part of the kit)1 -
1/2 stainless steel joint 2-
1/2 stainless steel hook accessories 2-
2-1/2 \"nickel-plated brass nut for hook fitting
O-1 silicone/2
Hook fitting ring 1-
CPVC tee 1-1/2\"
CPVC 90 elbow 1-1/2\"
CPVC ball valve 1-1/2\"
1/2 \"CPVC tube X 1/2\" MPT 1-
1/2 \"CPVC tube X 1/2\" FPT 1-
1/2 \"CPVC pipe 4-short piece
Furnace head bolts, knots, washers, lock washers for MARCH pump 2-
Bracket for mounting rim tube 6-
Wood screws for mounting rim tube 6-
1/16 rivets or screws and nuts 1-Teflon Tape 1 -
Tools Needed: hand drill or Drille Press (
Easier to use)
Large sliding joint pliers #2 plillips screwdriver 1 \"adjustable wrench all kinds of wrench water heater elements start by fitting all accessories.
Knowing that the rim tube will be placed on top of the electric box, I just stack the parts and then make sure everything is aligned. Then I pre-
Assemble stainless steel parts and try out heating elements.
Even if this element needs 13-
1/2 \"in the part I bought it fits well.
You can see that the end of the element reaches 1/2 of the second SS tee fitting.
Elements also fit 1-
1/4 stainless steel pipe, even if other pipe
Line tells me that this element is not suitable.
So don\'t always believe in \"experts \"!
I went ahead and tested the installation of the PT100 RTD temperature sensor on the 1/4 sleeve adapter, and it fits perfectly.
I want the tip of the probe to stick out far enough to get good measurements but not really close to the heating element.
Here it is threaded into one of the tee.
The flow of water will make the water rotate in the tee and I should get a very accurate temperature measurement.
Mark the profile of the RIMS pump mounting hole and rim tube base.
Drill the pump mounting hole.
I use 1/4 \"stove bolts and drill 1/4\" for my drill press machine \". 1.
The stove bolts I used
It is also important to use flat washers and lock washers due to pump vibration. 2.
The order in which washers and nuts should be stacked-up.
First the washer, then the lock nut, and then the nut. 3.
The nuts should be tightened to the point where they just started pulling the stove bolt head into the wood. 4.
This is a good picture of the other side.
The bolt on the left is a bit tight.
Drill through the back of the electric box to clear the heating element.
For more drilling details, please check our electric jug article.
Or you can buy a component wiring kit from our electric Brewery
The boxes that came with our kit were all pre-prepareddrilled.
Apply a double sided tape to both sides of the electric box.
Decide what you will use on the rim tube mounting bracket.
I used two 3/4 aluminum corners because that\'s how I lay down.
Temporarily install the lid on your electric box, peel the paper from the outside of the double sided tape, and then place the electric box face down on the flat desktop.
Stick the mounting bracket to the double-sided tape.
Because the side of the electric box is not straight, the bracket will not flush with the table top, but it doesn\'t matter.
Flip the box and it should look like this, depending on the bracket you use.
Double sided tape left on the box.
But trimming the extra double sided tape sticking out from under the stand will make the box look better.
At the same time, drill holes in the bracket and side of the box-
I drilled three holes on each side.
Attach the bracket to the side of the box.
I use the rivets because the rivets are not loose, but you can also use the machine screws.
But do not use any type of self-tapping screws or screws with sharp points.
Any sharp place in the box may rub onto the wire and cause a fault in a moment.
Here is a nice picture of the inside of the box showing the holes and rivets I had previously drilled from the back.
Install the drill holes on the other side of the bracket.
I drilled 6 holes, 3 on each side. Start assembly-
There is no need for the vise, but it helps.
If you don\'t have the vise, you may need the help of a friend to tighten all the fittings.
This is probably the simplest part of the whole project.
All you have to do is wrap the male pipe fittings thread with Teflon tape and screw the parts together. The stack-up order is: 1-
1/4 \"X 1\" adapter 1-1/4\" Tee 1-
1-1/4 \"X 8\" tube nipple1/4\" Tee 1-
Once you \'ve assembled everything, the 1/4 \"X 1/2\" adapter simply turns the top-most accessory until everything is tight.
Install the second one-
1/4 \"X 1/2\" adapter in the bottom tee fitting. Install the 1-
1/4 \"X 1/4\" adapter in top tee fitting.
Turn over and assemble in the vise.
You can put the box in 1-
1/2 \"x1\" adapter and see it aligned well.
Place the Teflon tape on the element thread.
Pass the element through the hole at the bottom of the electric box.
Push the square gasket attached to the element onto the thread of the element.
Thread elements to 1-
Then tighten the 1/4 \"x1\" adapter with a water heater element wrench or socket.
The element should look like the last picture when installing.
Remove the water tight fitting that the power cord will pass through.
Slide the external nut and rubber bushing into the power cord in the order in which the accessory falls off, and then install the main accessory body into the electrical box.
Connect the wire to the heating element and the ground screw.
Green wire to green safety ground screw-
Don\'t skip the ground-
This is a very critical secure connection! ! !
The white and black wires lead to the heating element terminals and the order does not matter.
Slide the rubber bushing up into the fitting and tighten the compression nut. Re-
Now we start to tie everything together.
The CPVC 1/2 \"pipe X 1/2\" FPT does not require a sealing device-
It has installed a neoprene gasket.
Screw the fitting to the exit of the MARCH pump.
The CPVC 1/2 \"pipe X 1/2\" MPT fitting requires a sealer, so I screwed the fitting into the rim pipe tee with Teflon tape.
Before you glue the parts together, cut the CPVC pipe and try to install everything.
I don\'t give the size here because your rim tube won\'t be set
Like mine, but this is the order in which I assemble my parts.
CPVC 1/2 \"tube × 1/2\" FPT screwed to the T-shirt on the top of the pump outlet pipe CPVC 1/2 \"monthly water pump fittings, CPVC pipe 1/2\" CPVC tee 1/2 \"tube on March, CPVC 1/2 \"elbow CPVC 1/2\" pipe from elbow to CPVF fitting screw into rim tube CPVC 1/2 \"pipe on the right side of the tee to drain valve CPVC 1/2\" pipe, only when you are satisfied with the way everything is installed can all CPVC parts be glued together with CPVC glue
Before connecting the rim tube to the base, make sure that the screws you plan to use will not be too long.
I measured the screws I was going to use and they were too long but I have some brackets
I used to take up extra lengths.
Connect the rim to the base using screws.
You can see the gasket for my screws-
If I don\'t check, I will screw the base to my desktop.
The wife will not be happy!
Apply the teflon tape to the PT100 RTD liquid tight sensor thread, and then screw the sensor into the top tee of the rim tube.
Apply the Teflon tape to the 1/2 stainless steel nipple and screw the nipple into the top of the rim tube.
Assemble the inlet and outlet accessories.
1/2 \"The inverted hook falls into the 1/2\" nut. The silicone O-
After the hook falls, the ring enters the inside of the nut.
These two accessories are screwed to the inlet of the pump, you screwed to the nipple on the top of the rim tube earlier, you are finished! ! ! ! !
For more information, please visit Tom9/30/12-
I finally had time today to do both leak testing and flow testing, both of which were successful.
It will be a great brewing season!
I found out after destroying a batch of beer and spent hours cleaning up the rust on the surface of the screw
The components of the water heater are not made of stainless steel.
Rust happened after I had the water sit in my RIM tube for about two days.
Now I take the rim tube apart, dry the water after each batch, and the rust hasn\'t come back yet.
Here\'s an updated instructable that shows you how to connect a more permanent rim tube to a brewing station.
We found a good solution to this rust problem.
You can read it in this manual. Tom -www. kegkits.
Custom message
Related Products