C-580P(box) heat shrink tube set
Electrical Accessories
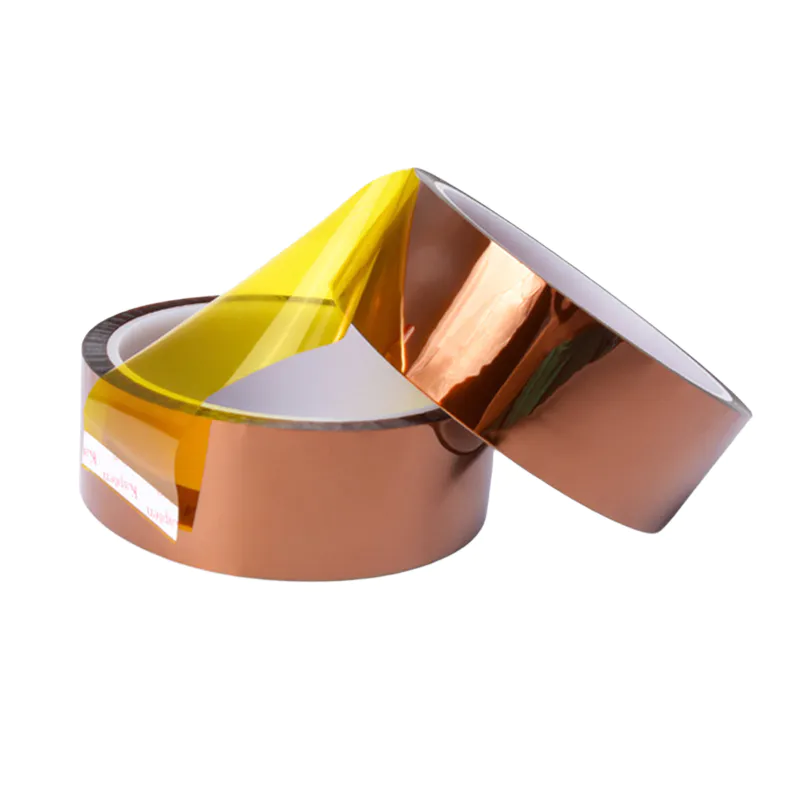
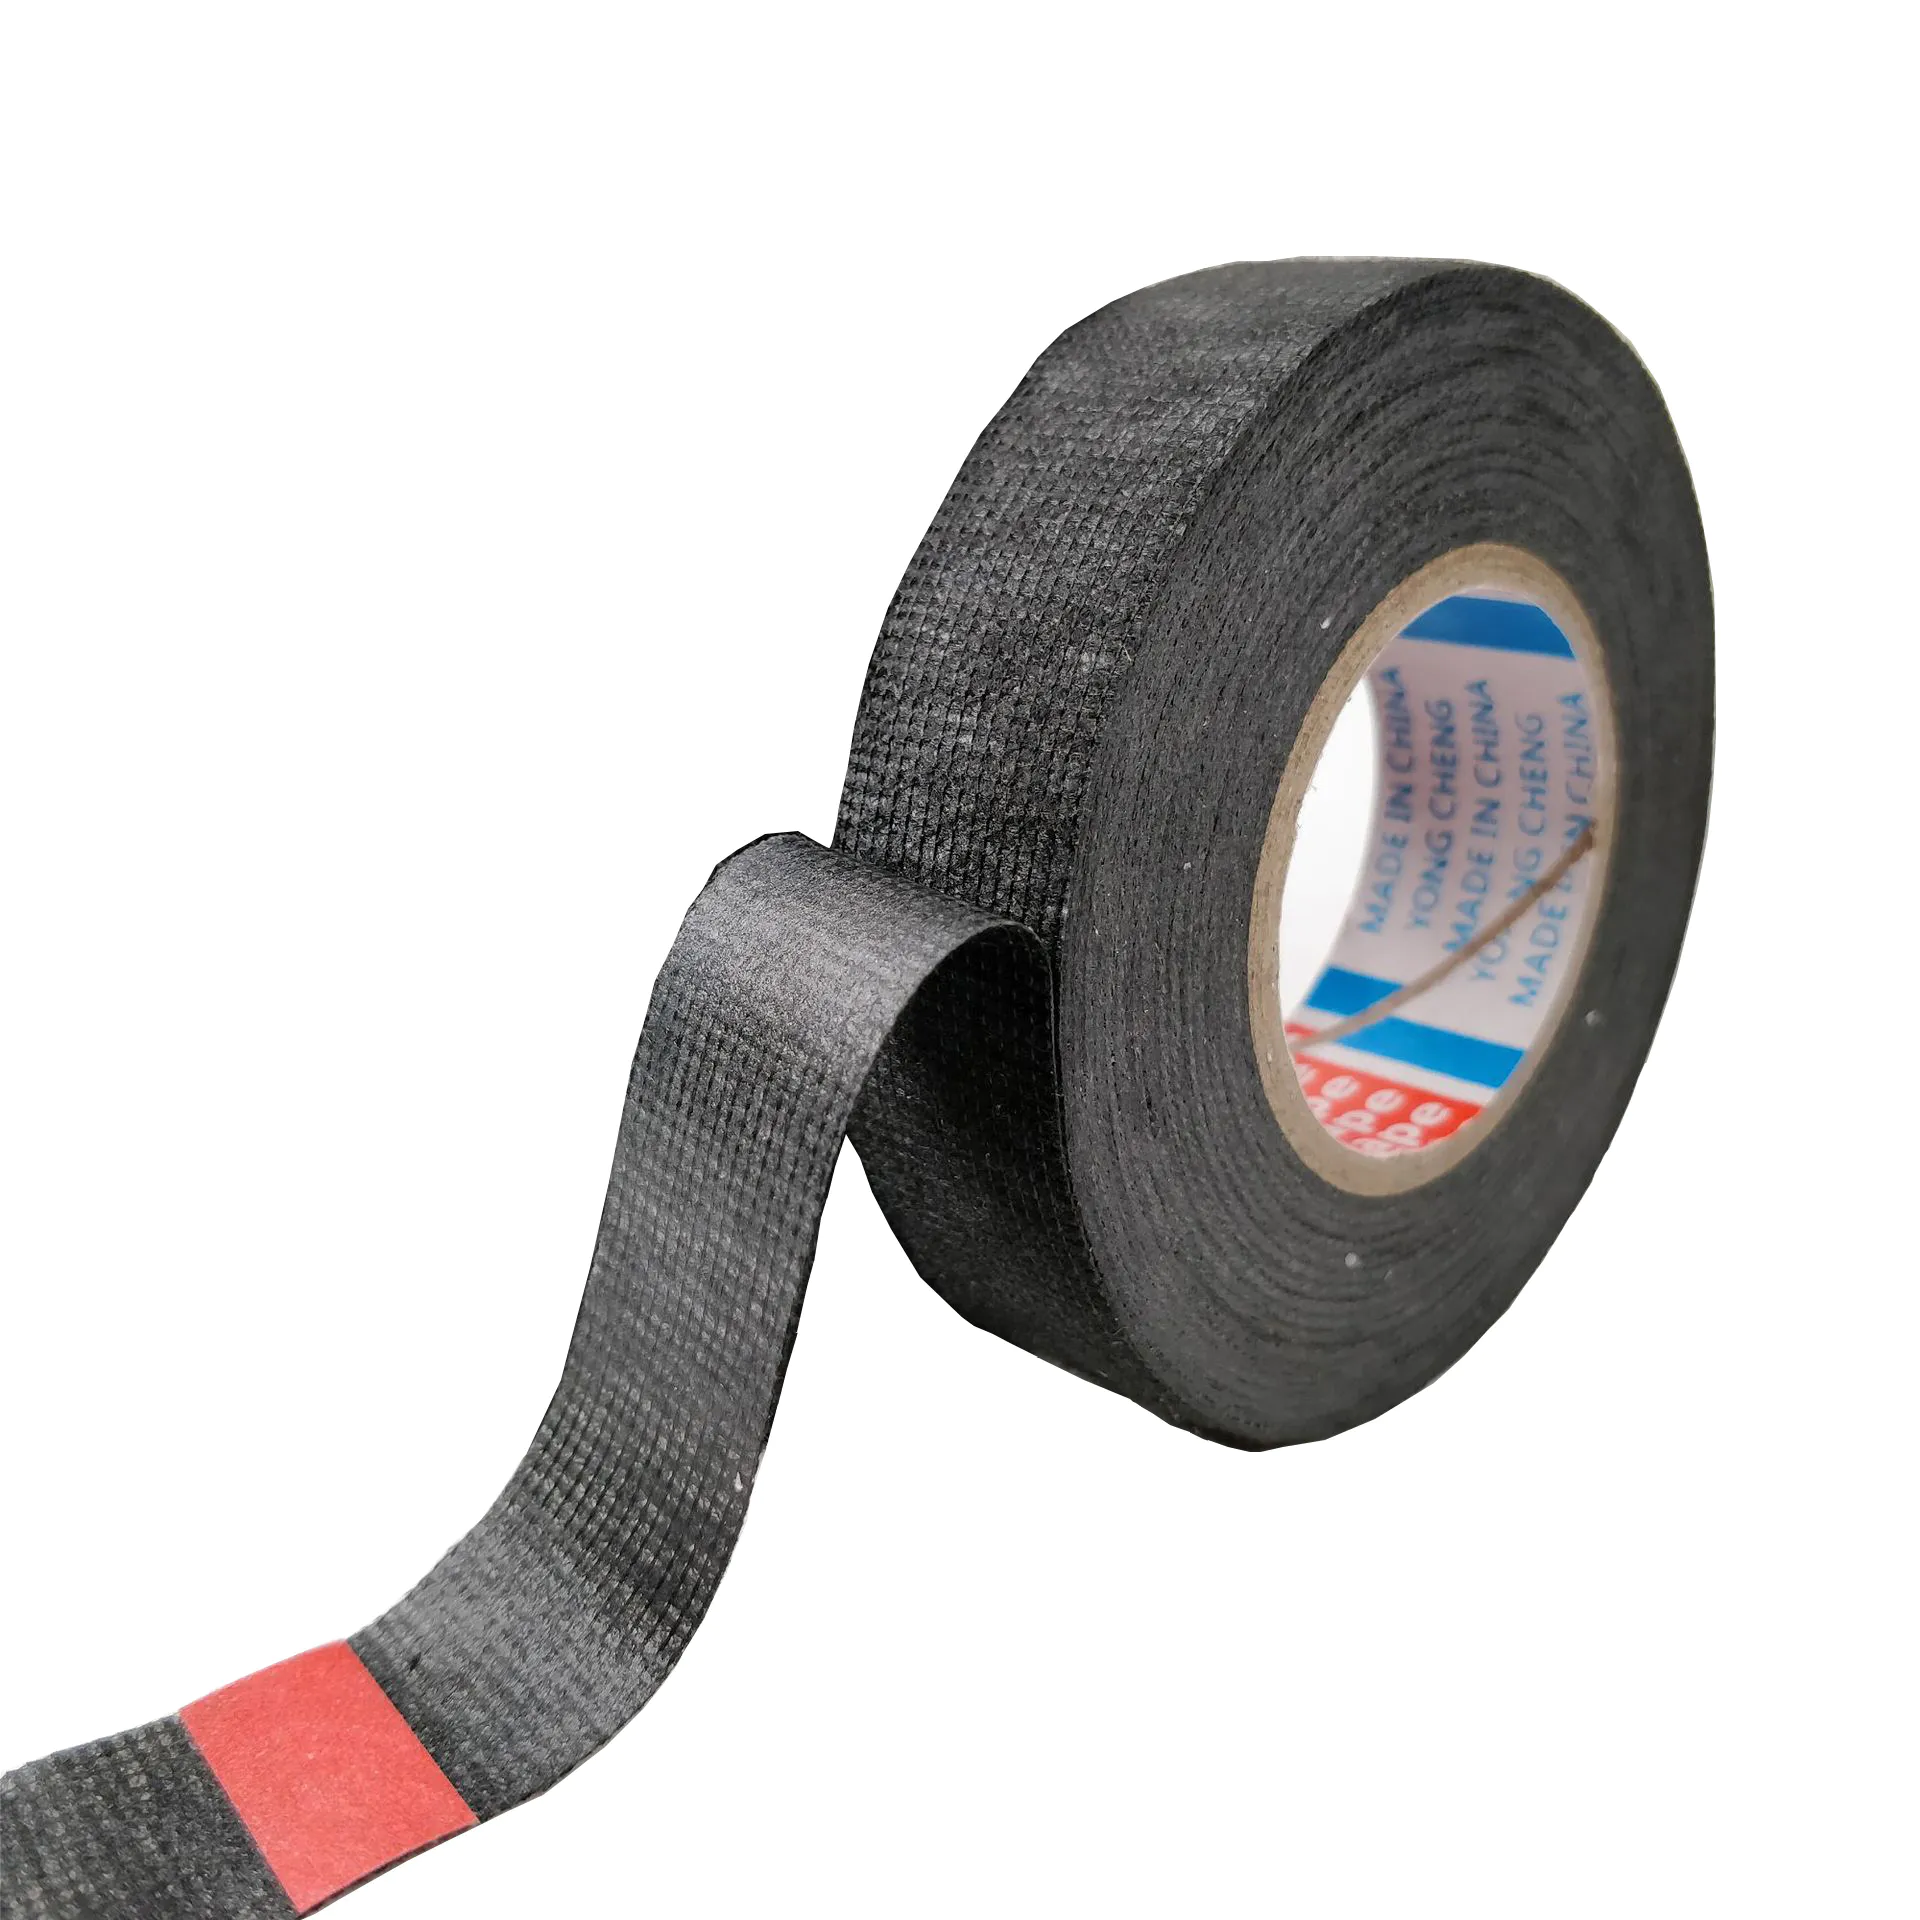
- Tape
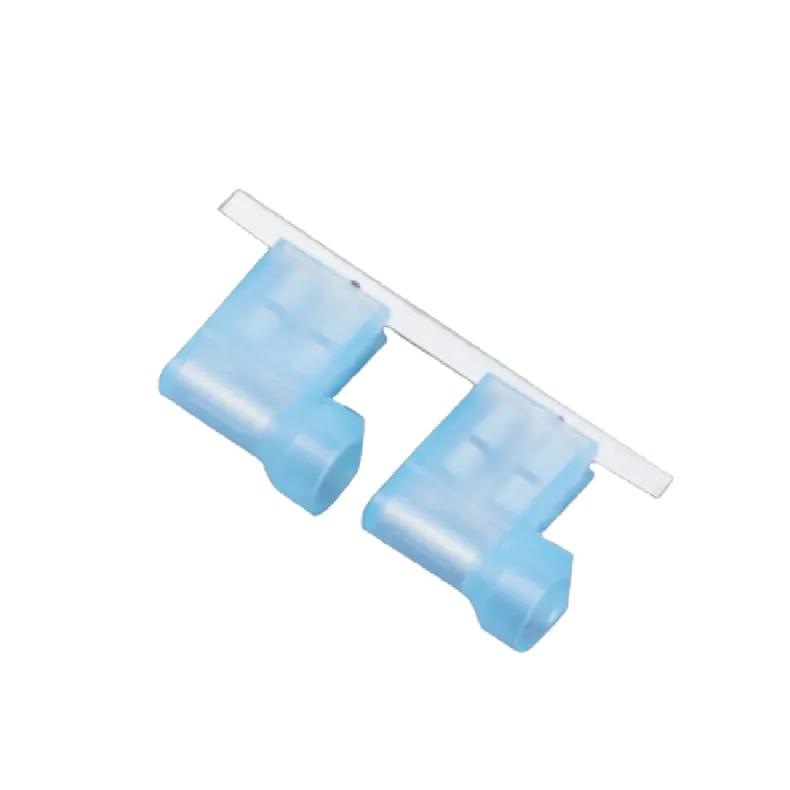
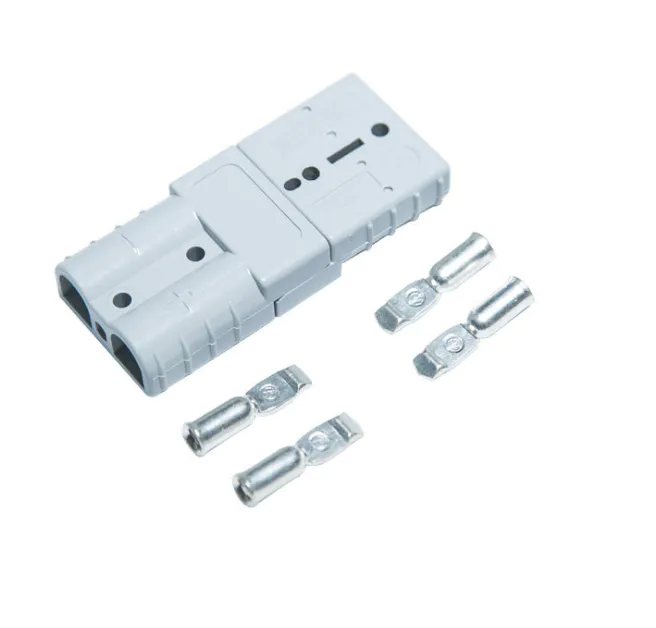
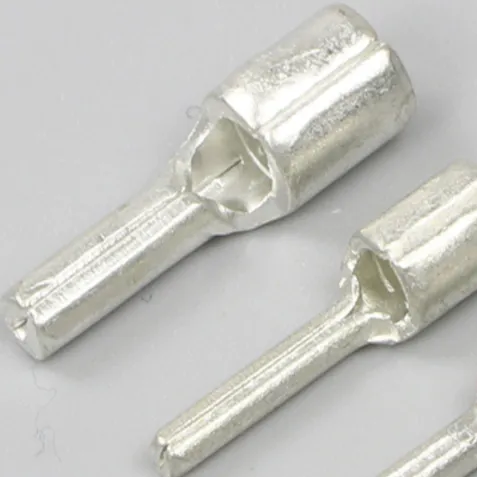
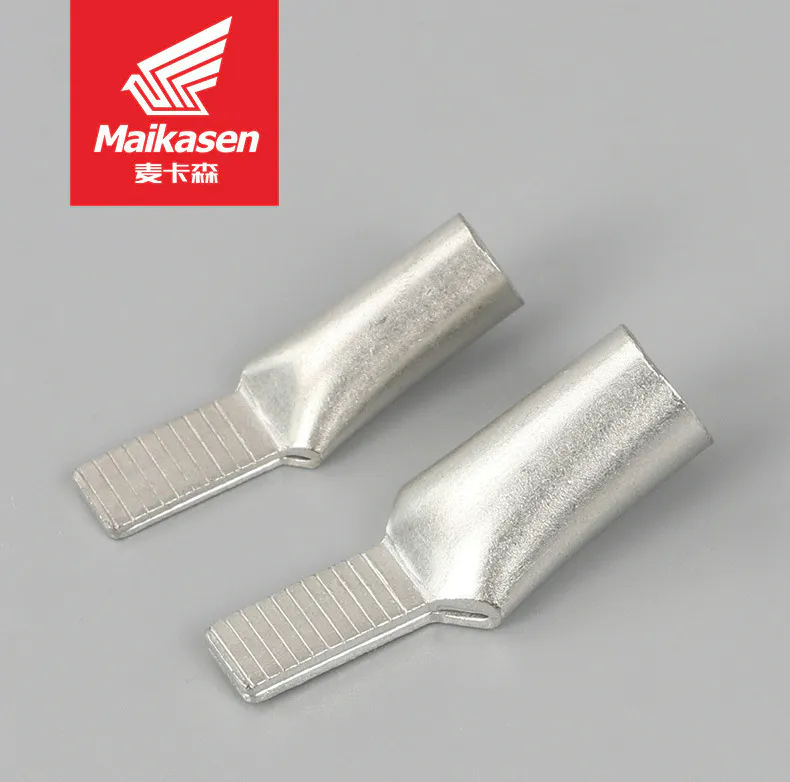
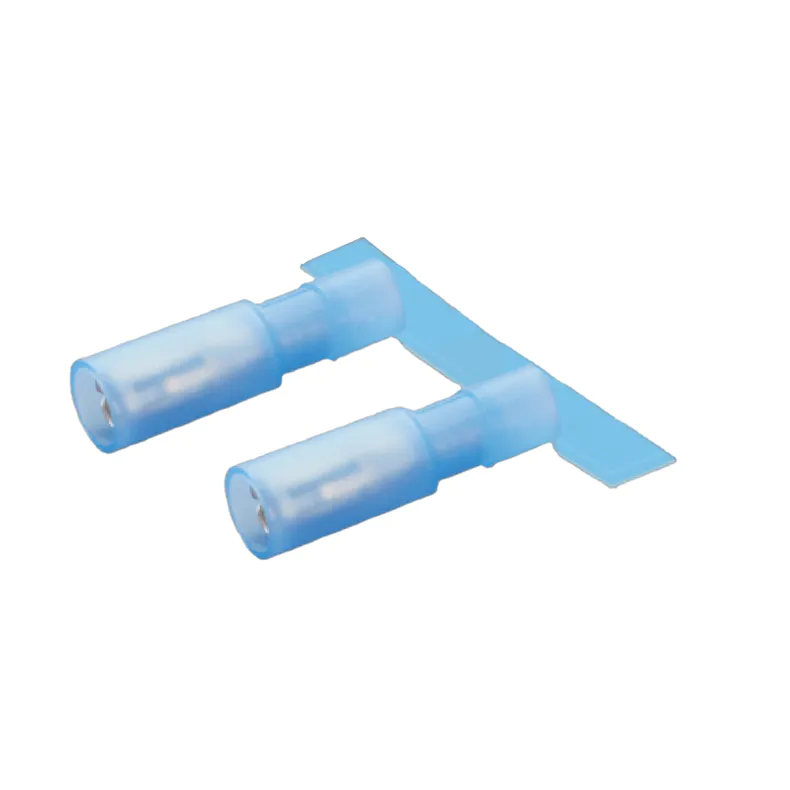
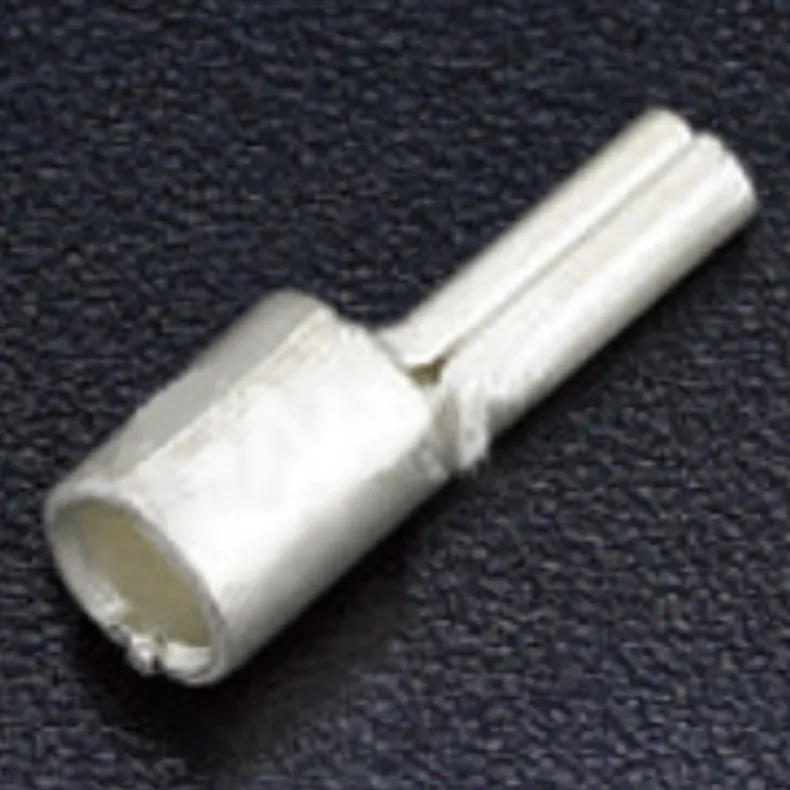
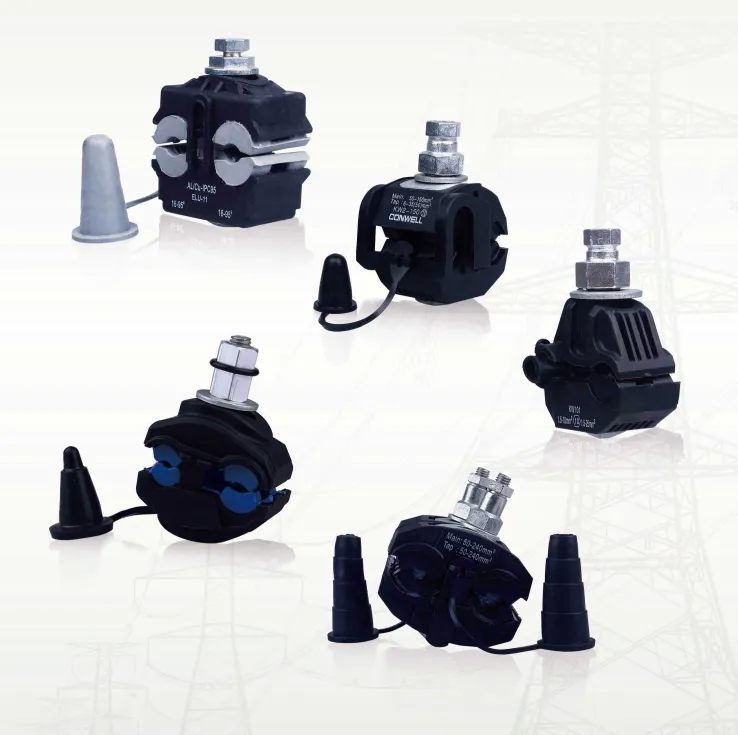
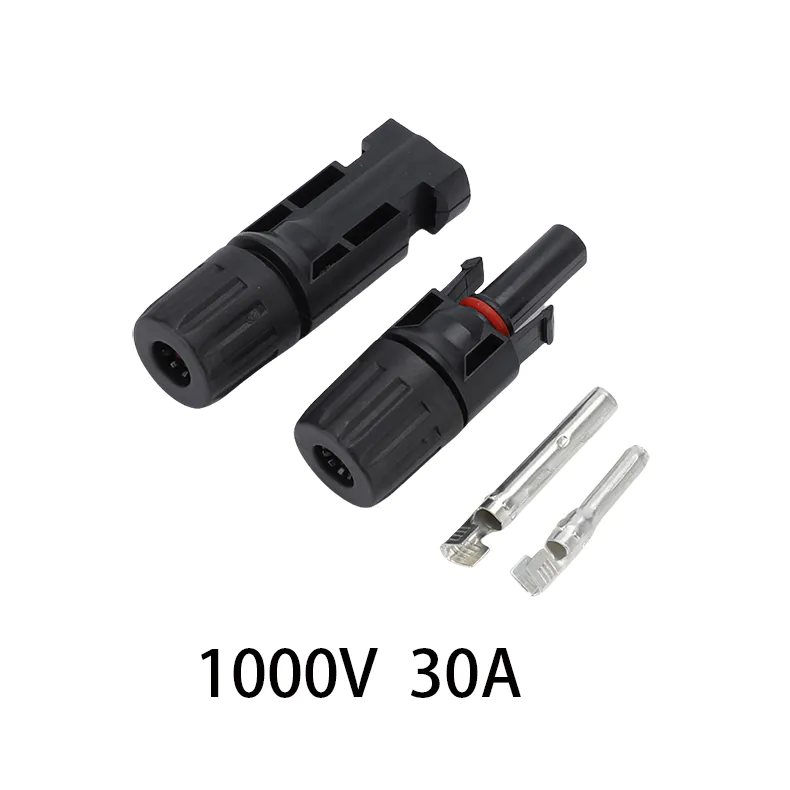
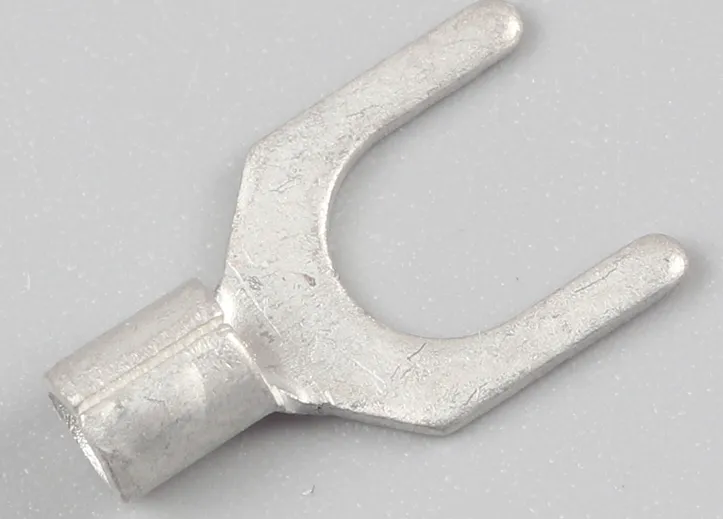
- Terminals & connetors
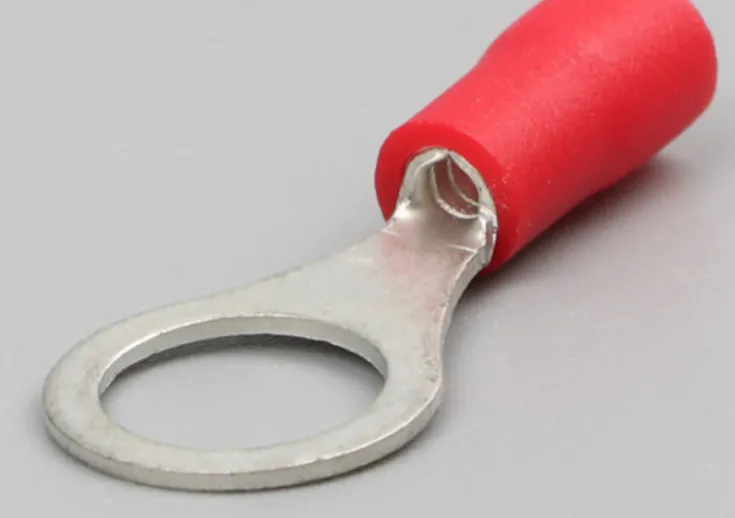
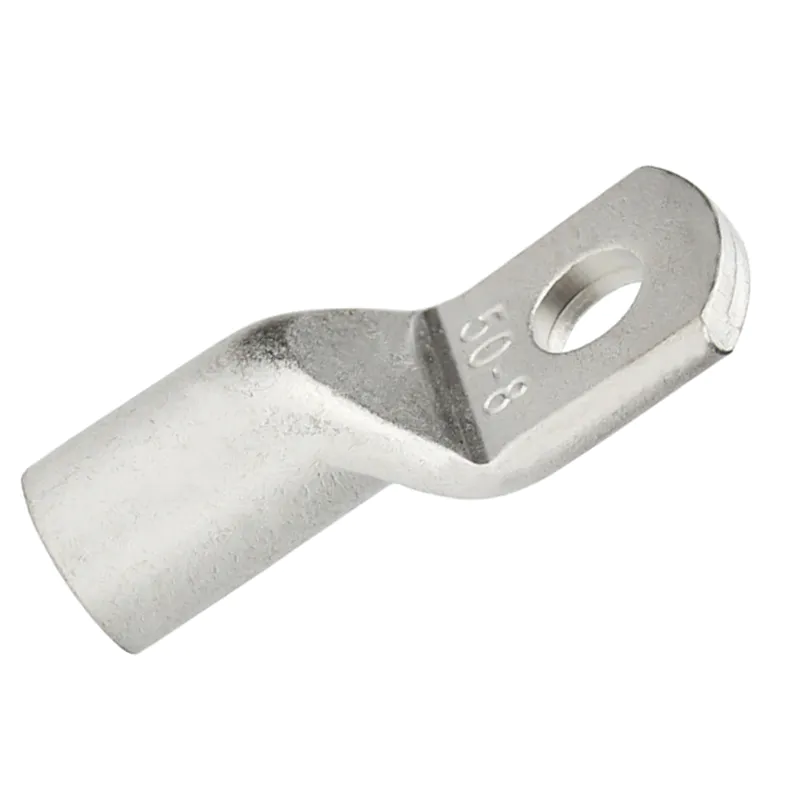
- Cable Lug
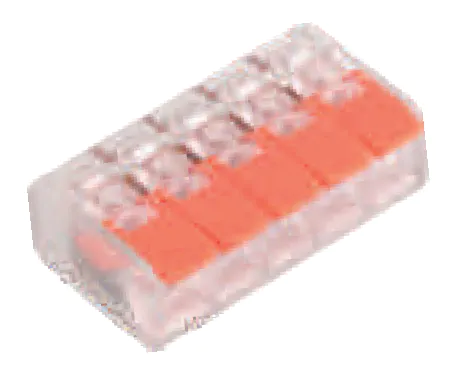
- Terminal block
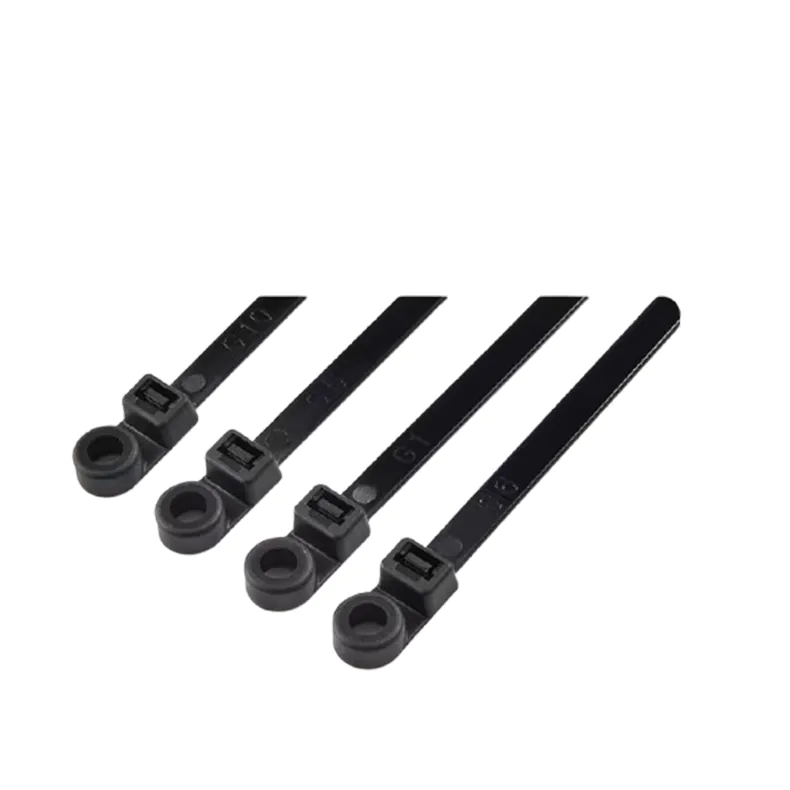
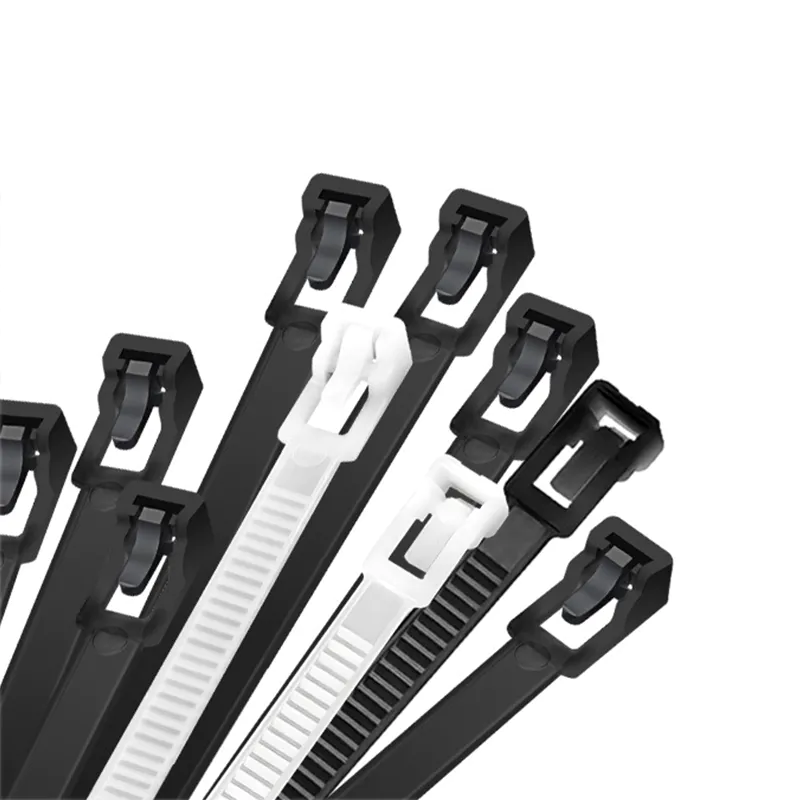
- Cable tie
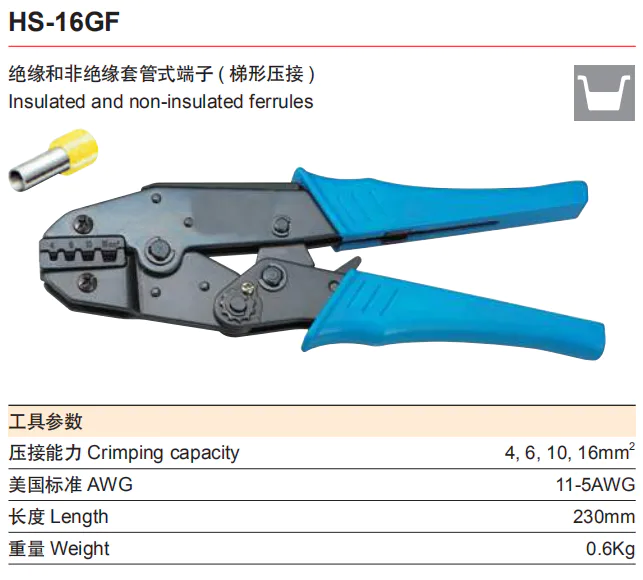
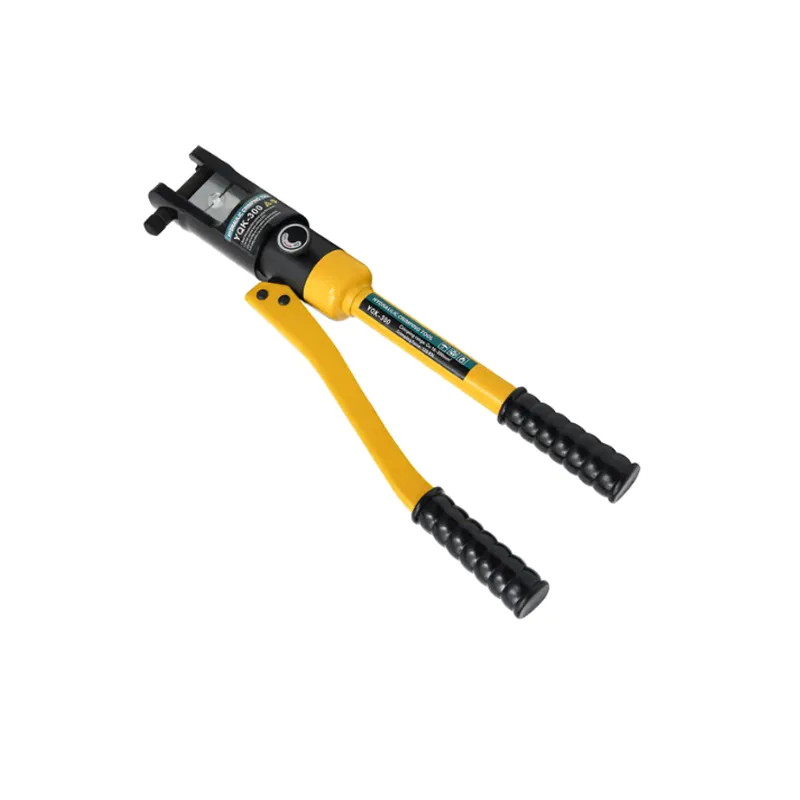
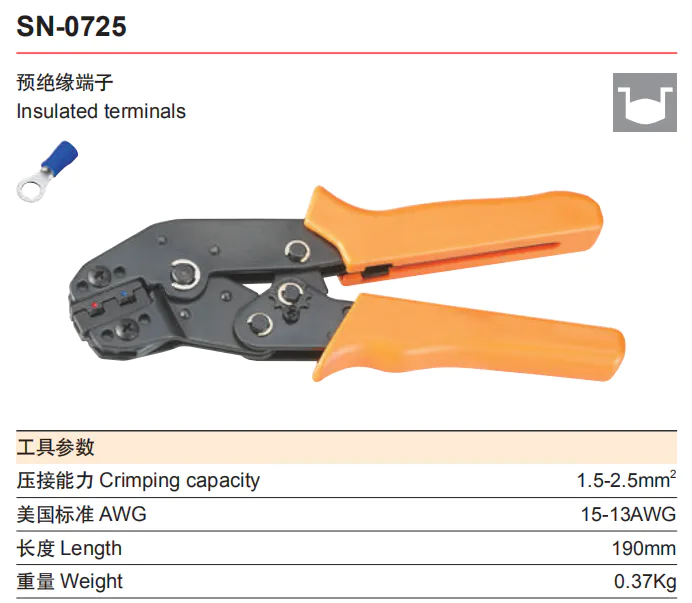
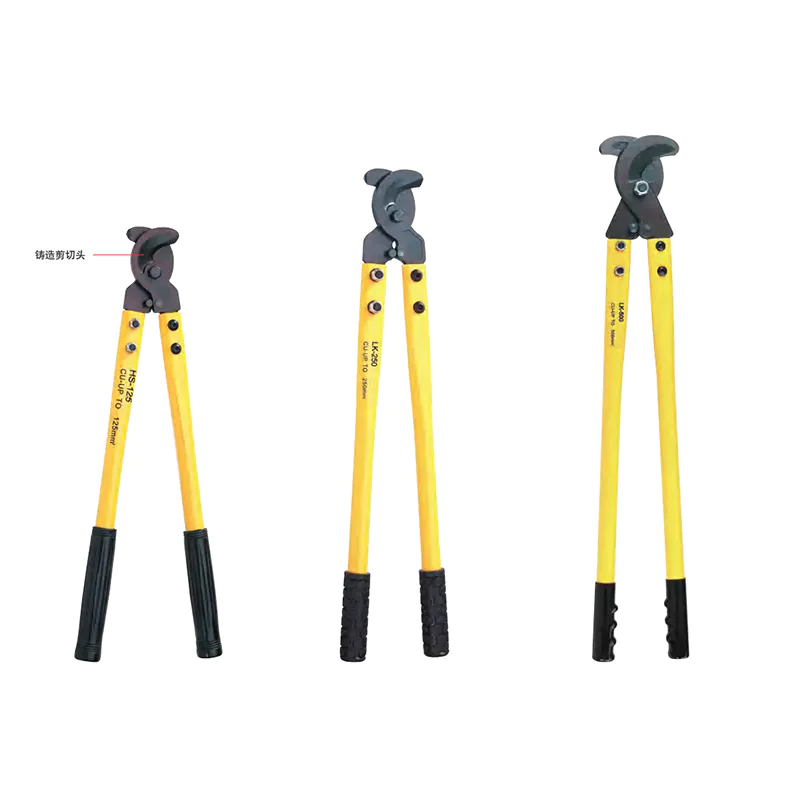
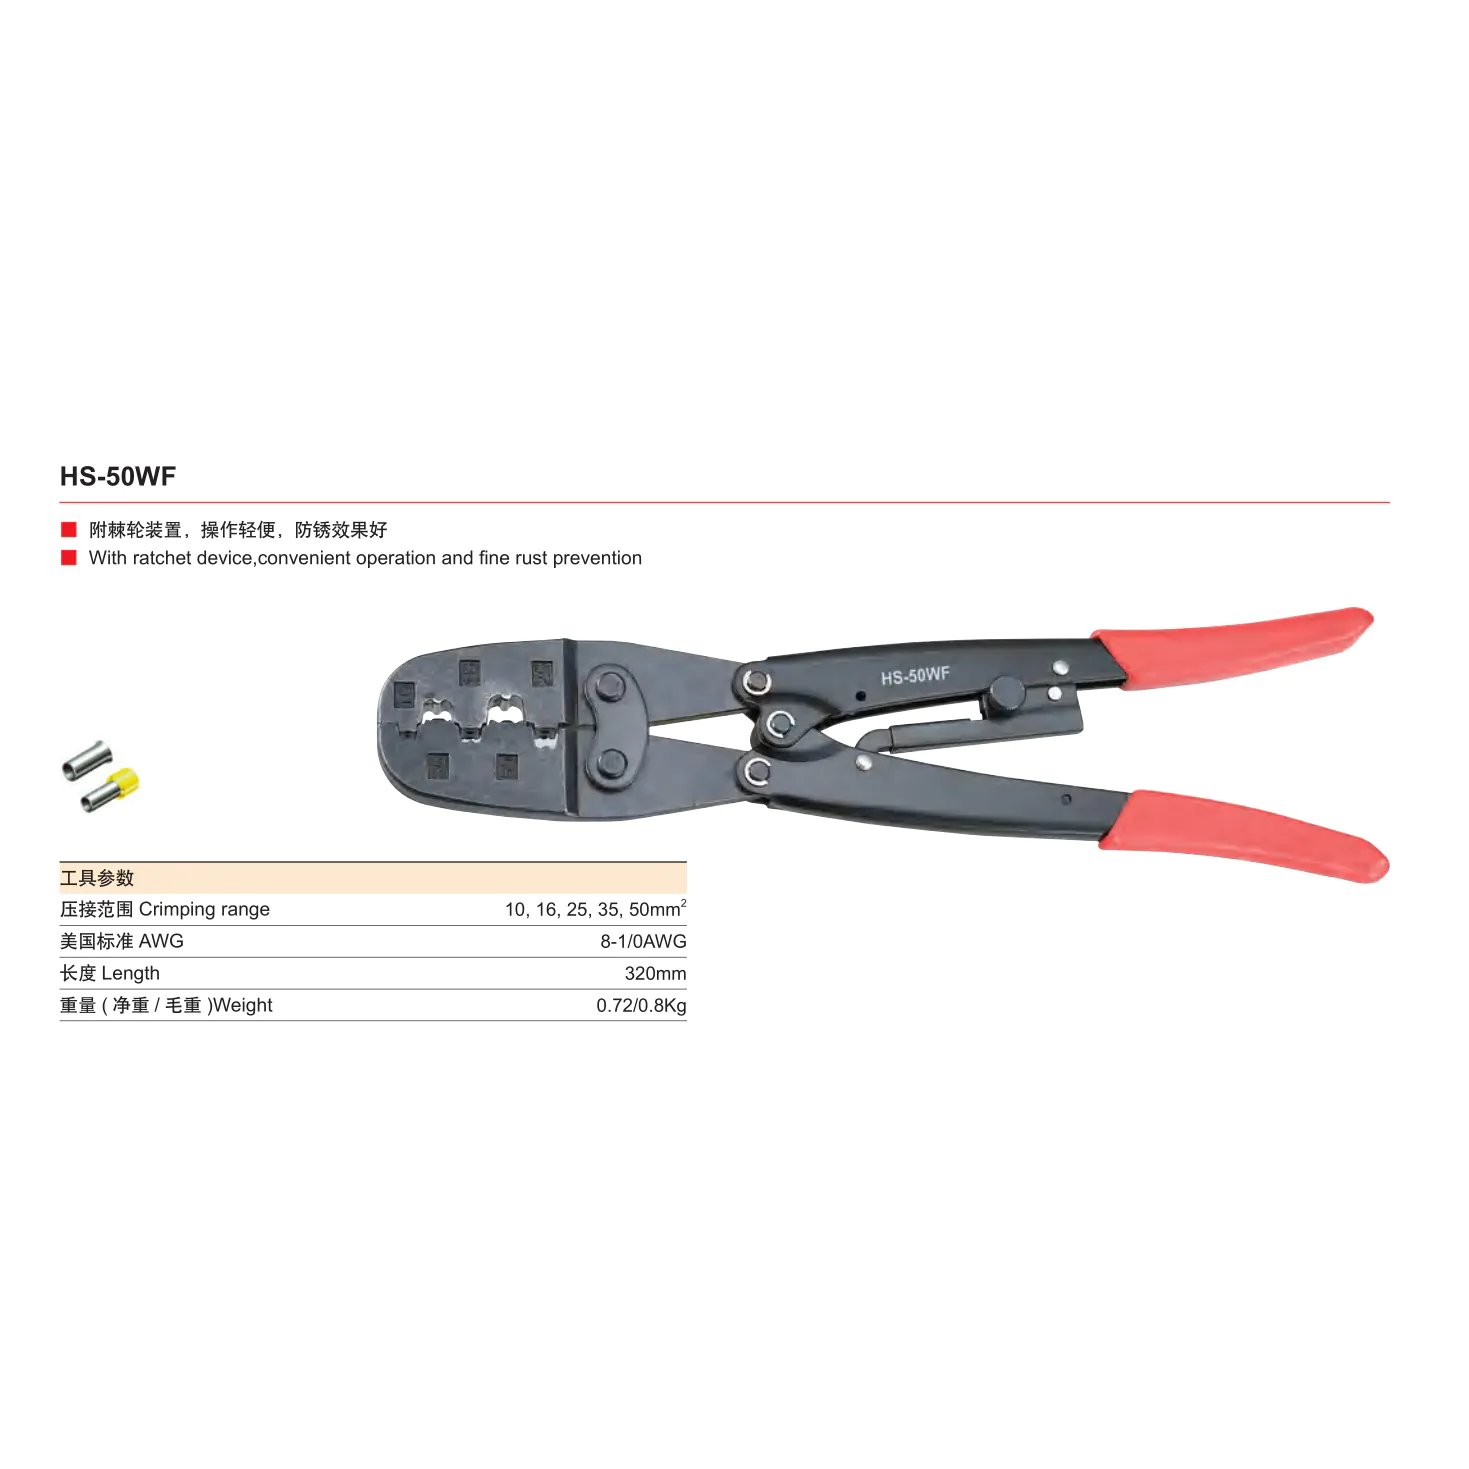
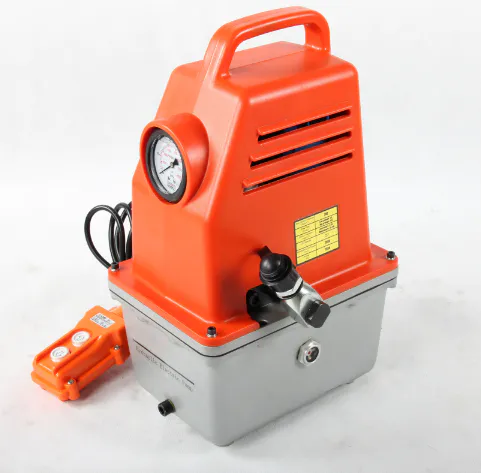
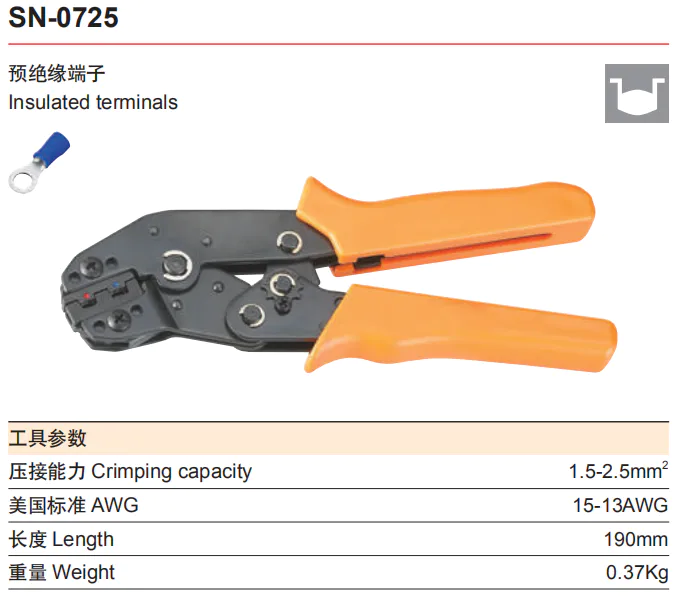
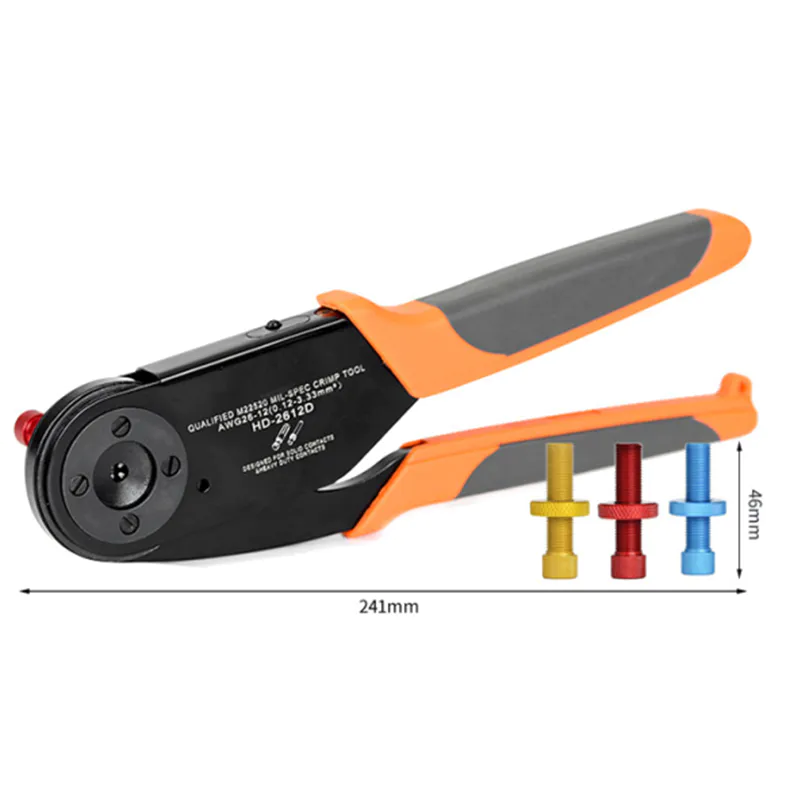
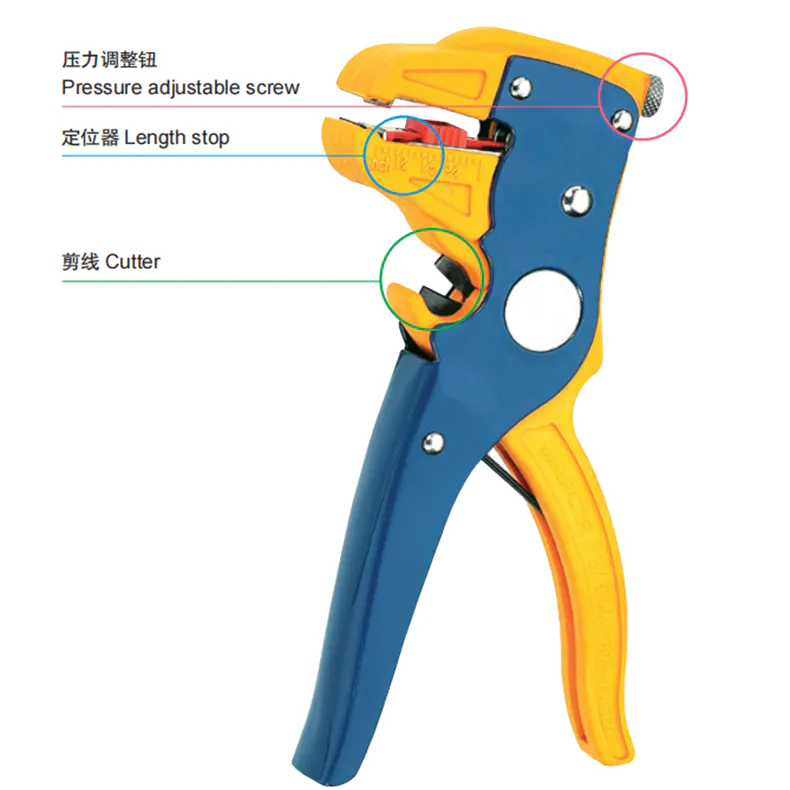
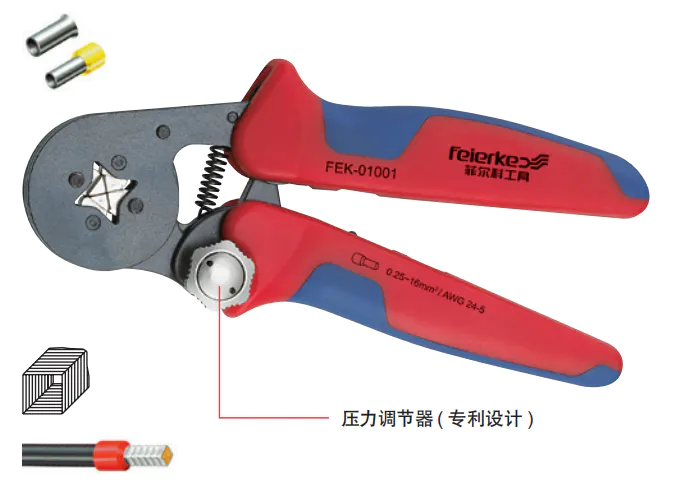
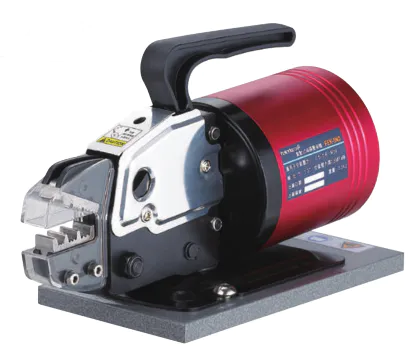
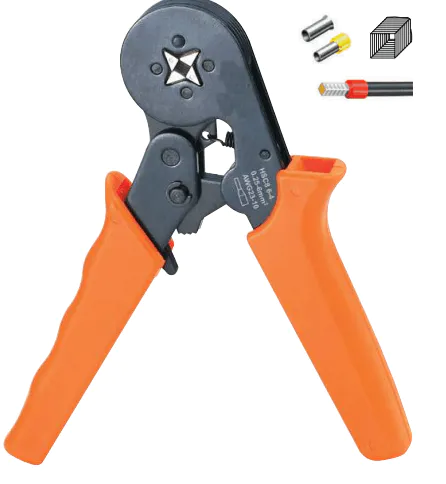
- Crimping tool
- Heat shrinkable tube
- Cable marker
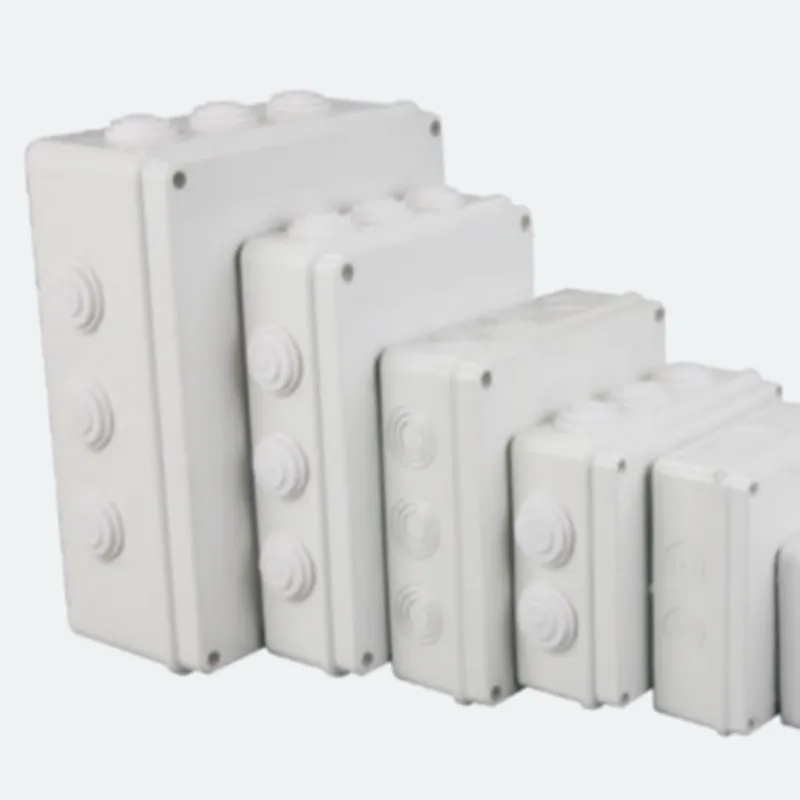
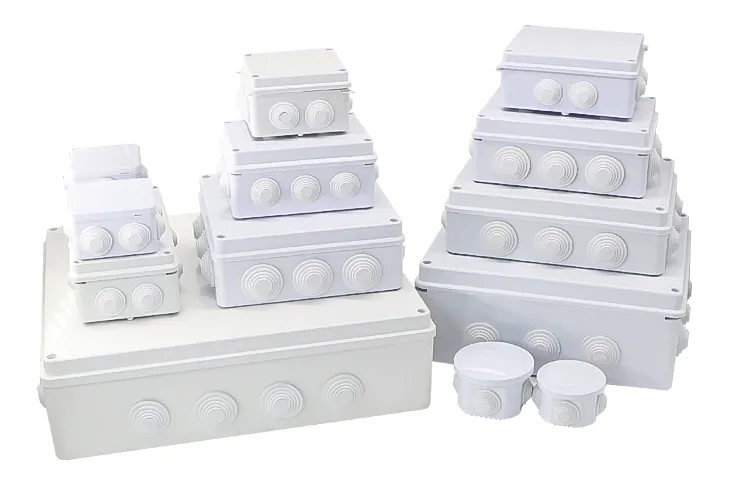
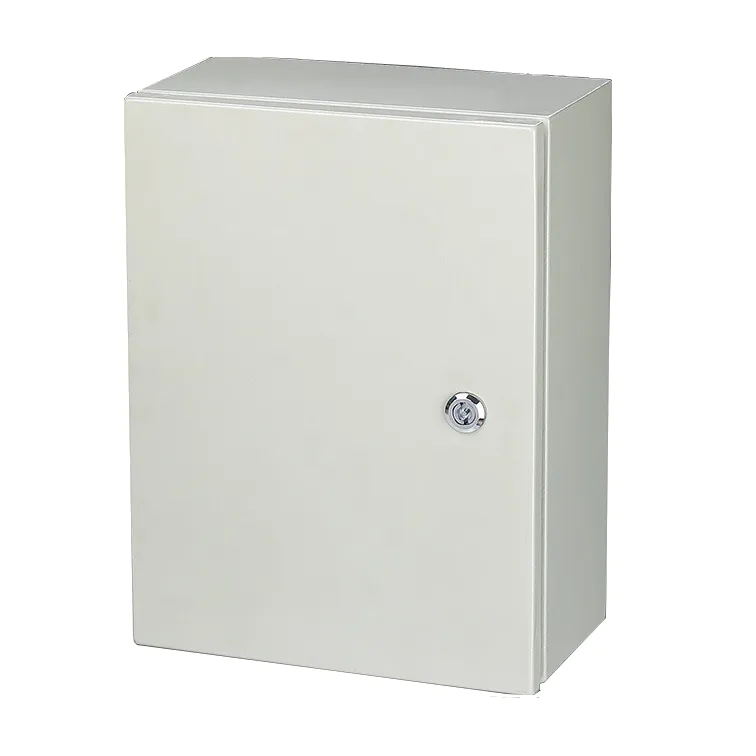
- Junction box
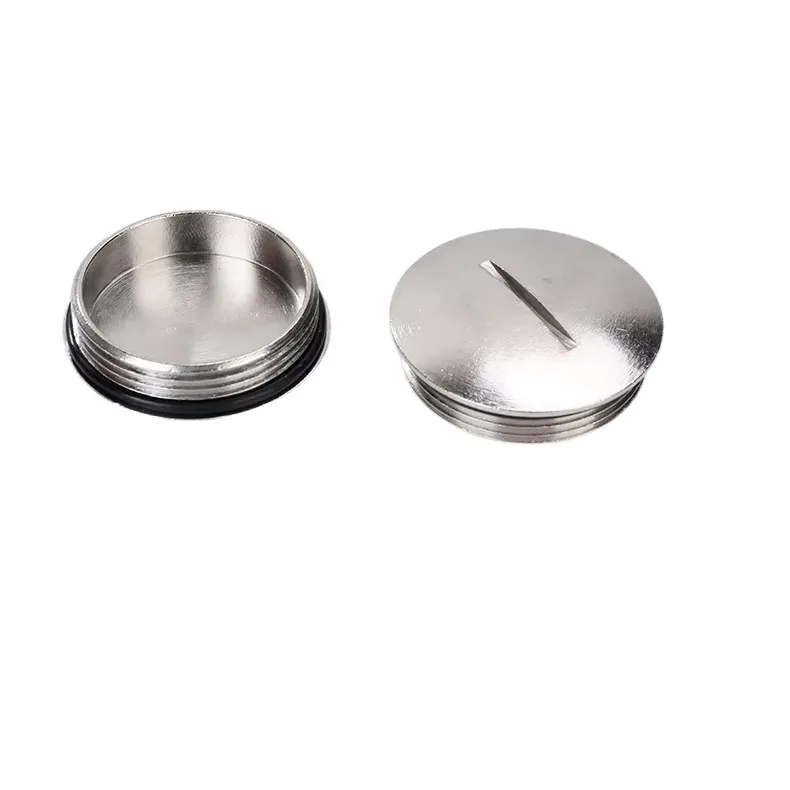
- Cable gland
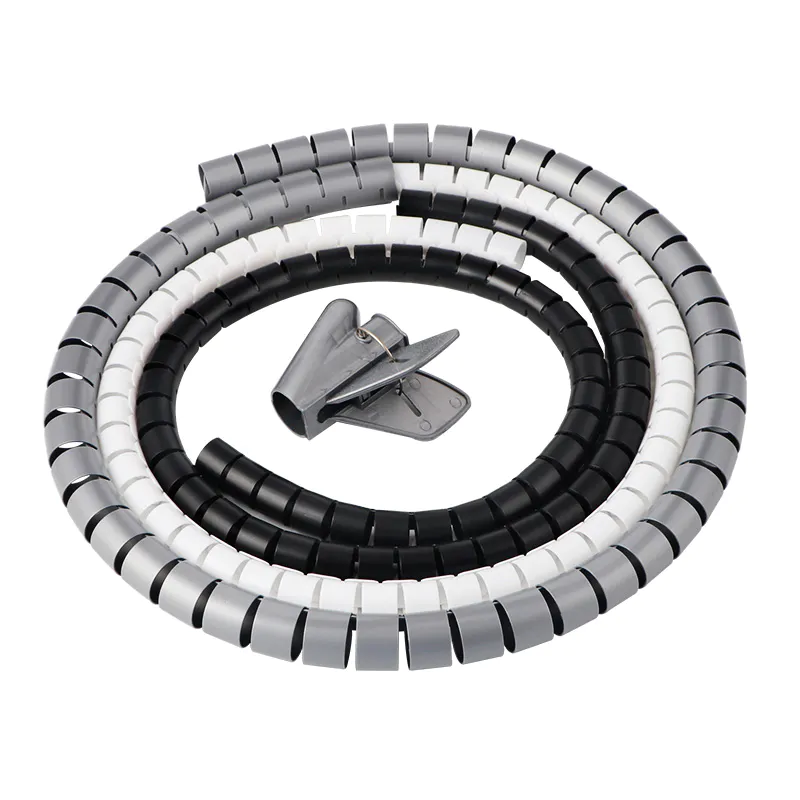
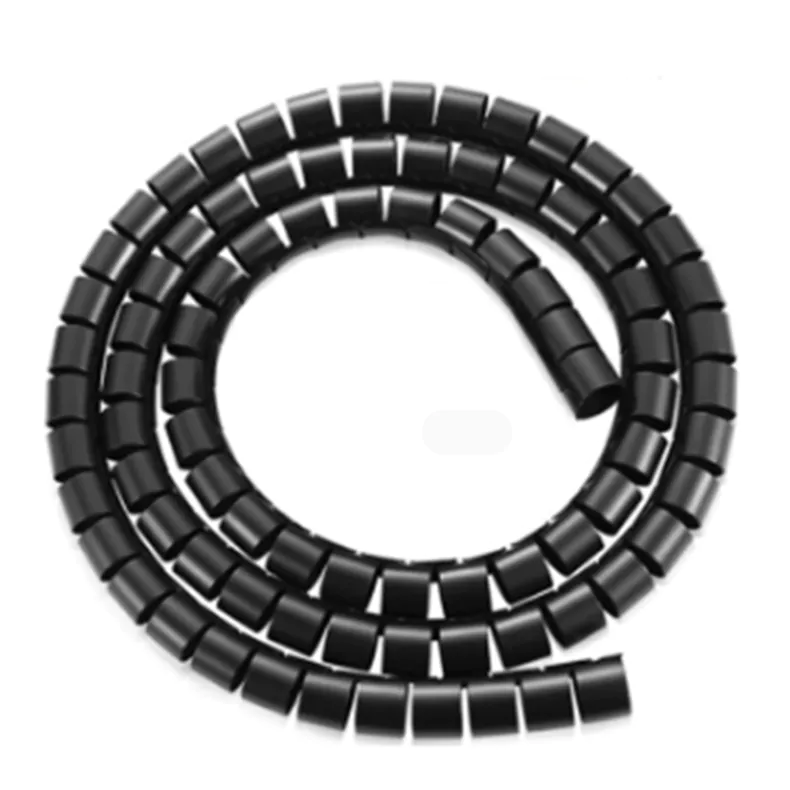
- Corrugated hose & spiral wrap band
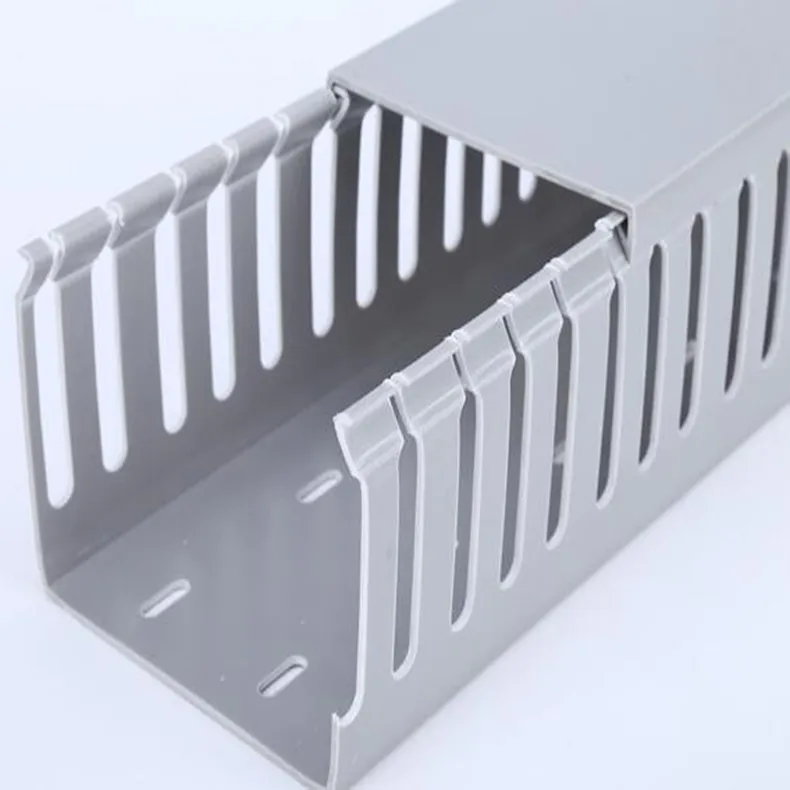
- Wire duct
- Din rail
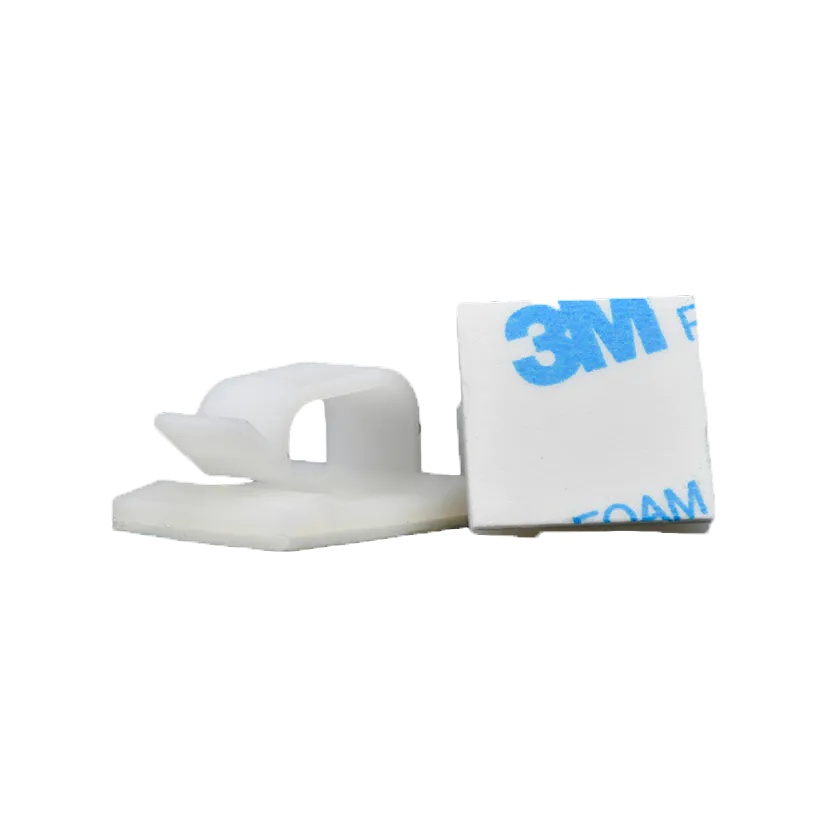
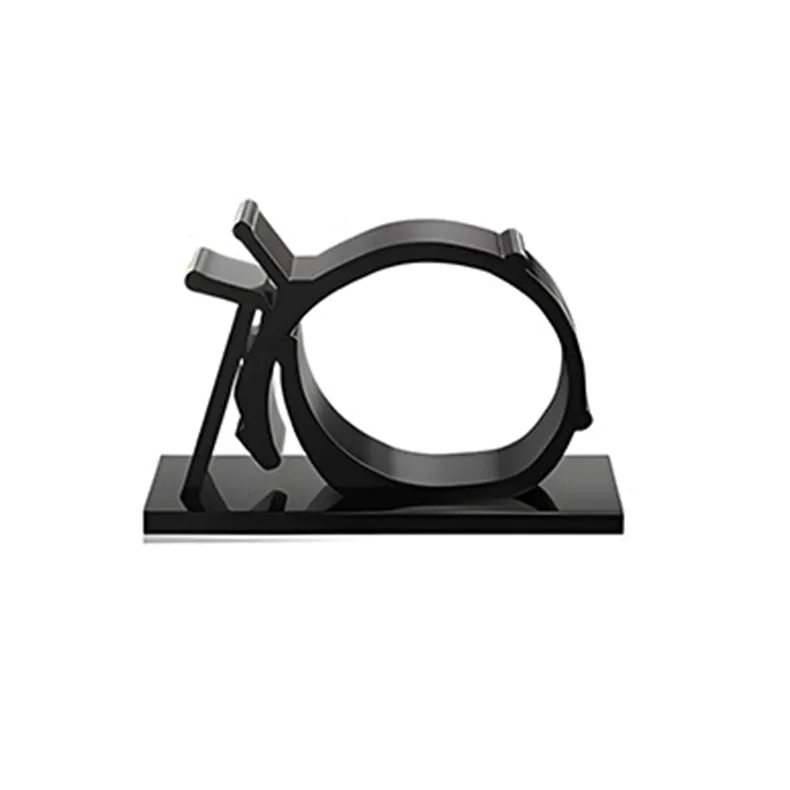
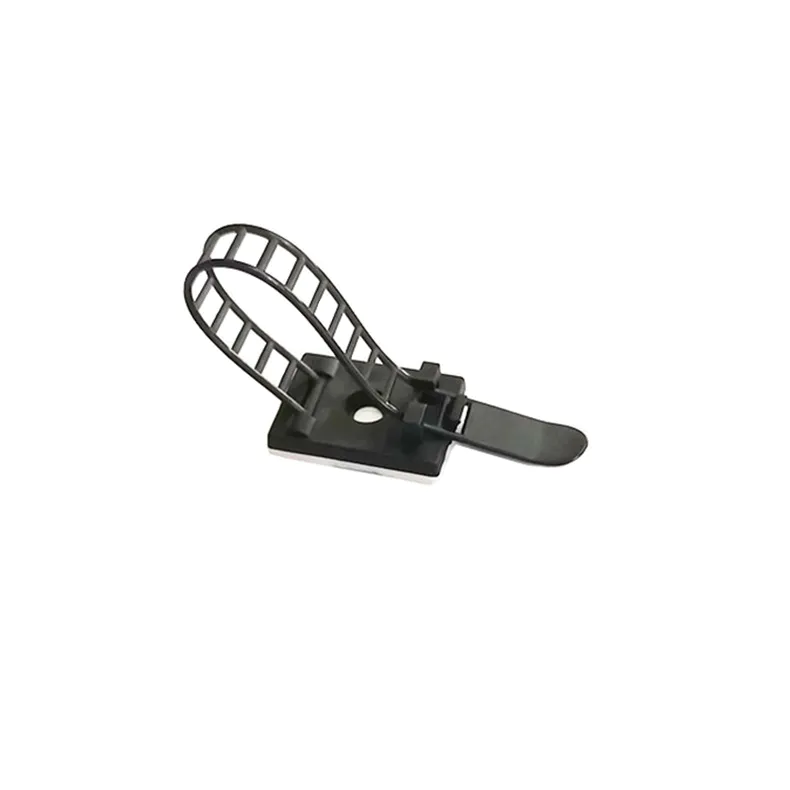
- Cable clips & mount
- Signal light
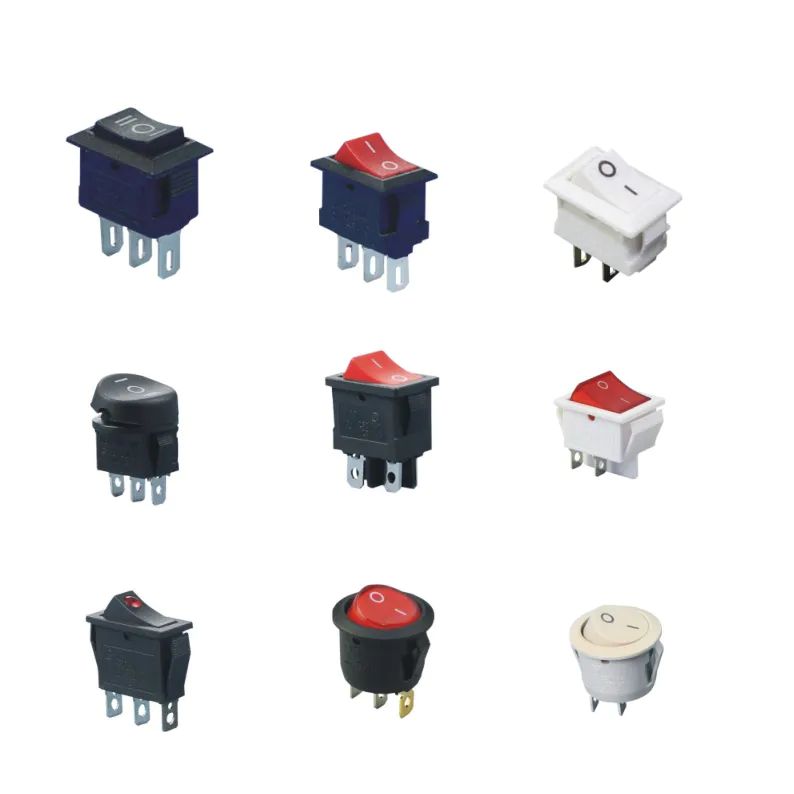
- Push button switch
- Standoff insulator
- Pet braided sleeve
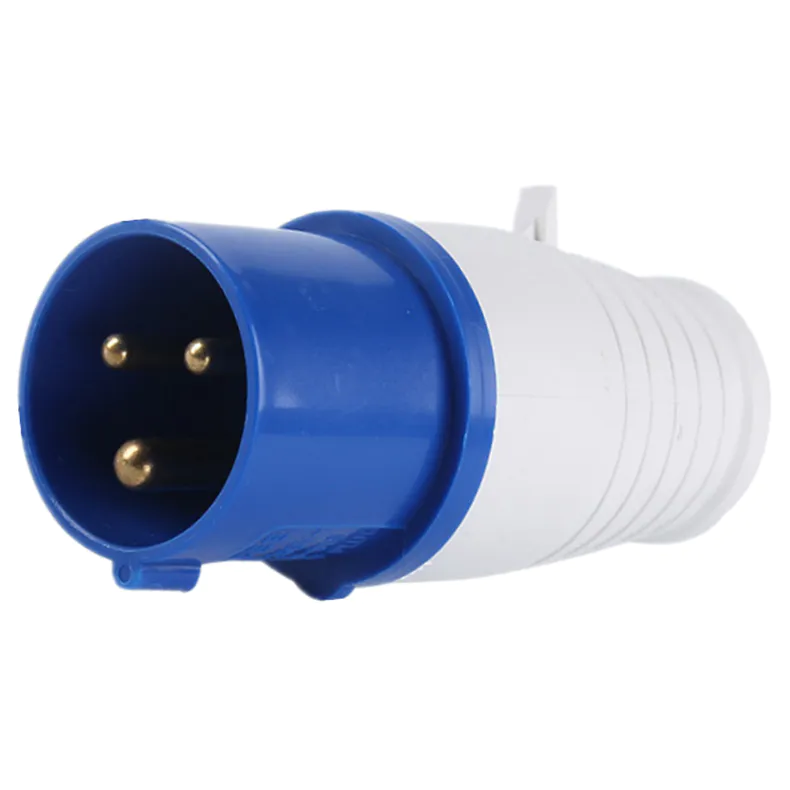
- Industrial plug & socket
- Auto fuse
- Others
Laser Box Music Laser Light Show
by:MKS
2020-02-27
I have previously published an Instructure that describes how to make a music laser show using a computer hard drive.
I decided to make a compact version with the electric box and the RC car motor.
Before I start, I should tell you that the laser is not good for your eyes.
Don\'t let the laser reflected by the uncontrolled mirror hit your eyes.
If you don\'t believe this will happen, read the following: Several sample videos have been made.
The first one is a necessary EDM song.
The second time since I was growing up, I decided to go to the old school, and I always connected music and lasers to Pinke Floyd; )
List of accessories: steel electric box (
3/4 \"and 1\" knocked down on each side
S3/4 in computer hard disk platform. Set-
Screw connector s3/8 in. (1/2\" KO)
Cable clamp connector s1 in. x 1/2 in.
Reduce the pipeline of Washers3/4 in.
PVC LocknutM3 x 12mm ScrewsUxcell 6 V 6300 RPM 2mm axis DC motor.
8mm female shovel connector s 2mm to 2mm axis Couplers15W 15 W TDA7297 version B dual channel amplifier board 12 v 2A power supply 5 v focusable laser module 12 v to 5 v DC
DC buck converter 1000 v 3A rectifier DC power Jack 5/16 \"heavy 6 oz dental rubber belt core/off safety key switch (
The prototype in the figure just has a toggle switch)
The first step is to drill holes in the back of the electric box for the on/off key switch, DC power jack and amplifier 3.
5mm audio input and gain control.
The next step is to drill a hole on the side of the pipe fitting thread for fixing the screws that hold the rubber band in the center of the mirror.
Next, I installed the on/off switch of motor and laser, DC power jack and pipe fitting.
Next, I weld in a 12 v to 5 v converter that powers the laser.
The amplifier runs out of 12 v when the laser uses 5 V.
Next, I use the angle grinder bracket to cut the cut in the motor shaft coupler to fix the mirror.
Next, I removed a hard drive to extract a highly polished aluminum disc for the mirror.
If you use a glass mirror, then the laser will reflect from the glass surface and the silver bottom so that you get two points.
This is explained in this wiki article.
Another advantage of using aluminum sheets is that they can be tightly clamped inside the notch Shaft Coupler without breaking. If you buy non-
Use the hard drive on eBay to harvest their plates, be sure to access the HDD Platter capacity database and study the model of the hard drive you are buying to make sure it contains multiple platters, to gain the most.
The old 250 GB hard drive may contain 3 or 4 discs, while the newer 1 tb model may have only one disc.
Next, I made a table saw sled to cut the aluminum plate.
I used the band saw in previous laser projects, but the table saw was cleaner and straighter.
I did an experiment with 100.
Saw Blade made specifically for cutting aluminum, but my regular Dewalt 60-
Actually, the tooth cross blade works better.
The trick is to set the blade to the highest angle of attack and use the toggle clamp.
Warning: If you want to cut the metal with a saw, then you have to take more precautions. GO SLOW.
Do not hold both sides of the metal;
Only one side or saw will tie the blade, teeth or metal to you and kill you.
When cutting the metal, do not connect the store vac to the dust outlet as it will cause a fire in the jar.
Put on an apron or work clothes, put on a full face mask, not just safety glasses, because those hot metal scraps that fly in towards you will hurt you.
The next step is to install the amplifier.
It has a very bright blue power LED and I would love to cut it off so it doesn\'t compete with the laser in a dark room, but the orientation of the amplifier makes the radiator block it from viewing directly and makes it reflect blue in the electric box, making it look very cool.
Next, I installed the Shaft Coupler on the motor and inserted the mirror into the notch and tightened the fixing screw.
I replaced a fixing screw with a longer screw to fix the rubber band.
Then I plug the motor into the pipe fitting.
On my first prototype, I welded the speaker wires to the motor, but then switched to 2.
After I accidentally burned out a motor by heating too much with a soldering iron, 8mm female shovel connectors.
One advantage of using the spade connector is that you can disconnect the lower motor so that the laser can only move in the horizontal direction, resulting in Liquid Sky effects.
I connect the right channel to the top motor and the left channel to the bottom motor, but that doesn\'t matter.
As long as both are connected, it doesn\'t matter which motor terminals the negative and positive leads are connected.
Then I installed the laser module.
It\'s just clipped inside 3/8.
Cable clip adapter.
The advantage of the clip is that you can easily remove the laser and change it to a laser pointer of different colors.
This is the way everything is connected.
Only rectifier diodes are required for blue and green laser modules.
They were short-circuited when their metal case was grounded to the electric box, so I isolated the ground of 12 v to 5 v DC
The DC step-down converter with a 1000 V 3A rectifier diode was successful.
Then I tested it with a little bit of fog from this fog machine.
It\'s cool to watch the laser pattern itself, but adding fog will get it to another level.
With it, you can see the actual laser beam as it goes through the air.
The best thing about using a pipe fitting to hold a vibration mirror is that everything is easy to adjust.
Once the top fitting is adjusted so that the laser beam is reflected from the center of the lower mirror, it can be tightened and kept still, but only a little tight fingers are required, this way you can twist it up and down the laser pattern without tilting the box and even move it to the ceiling.
The sharp teeth of the steel anti-loose nuts attached to the fittings go deep into the steel so that they automatically tighten to the point where they cannot be loosened without tools, so I use the 3/4 \"PVC anti-loose nut.
In addition to the size, the biggest advantage of using the motor on the hard drive is that they allow for a larger mirror stroke so that you can get a wider pattern at a closer distance.
In order to achieve the finishing effect, I cut a corner from the steel plate to make a window for the laser when installing the laser.
Leaving it allows you to throw a slightly wider pattern or project to the ceiling.
Table Saw is also very effective in cutting metal.
Warning: Again, if you are going to cut the metal with a saw, then you have to take more precautions. GO SLOW.
Do not hold both sides of the metal;
Only one side or saw will tie the blade, teeth or metal to you and kill you.
When cutting the metal, do not connect the store vac to the dust outlet as it will cause a fire in the jar.
Put on an apron or work clothes, put on a full face mask, not just safety glasses, because those hot metal scraps that fly in towards you will hurt you.
This is another video that shows how it handles various songs.
It really allows you to \"see\" your music.
It\'s also simple to use: Insert the audio source into 3.
5mm audio jack, plug in, power on, start playing music, adjust the gain control to resize the laser pattern.
Thank you for your attention!
Custom message
Related Products