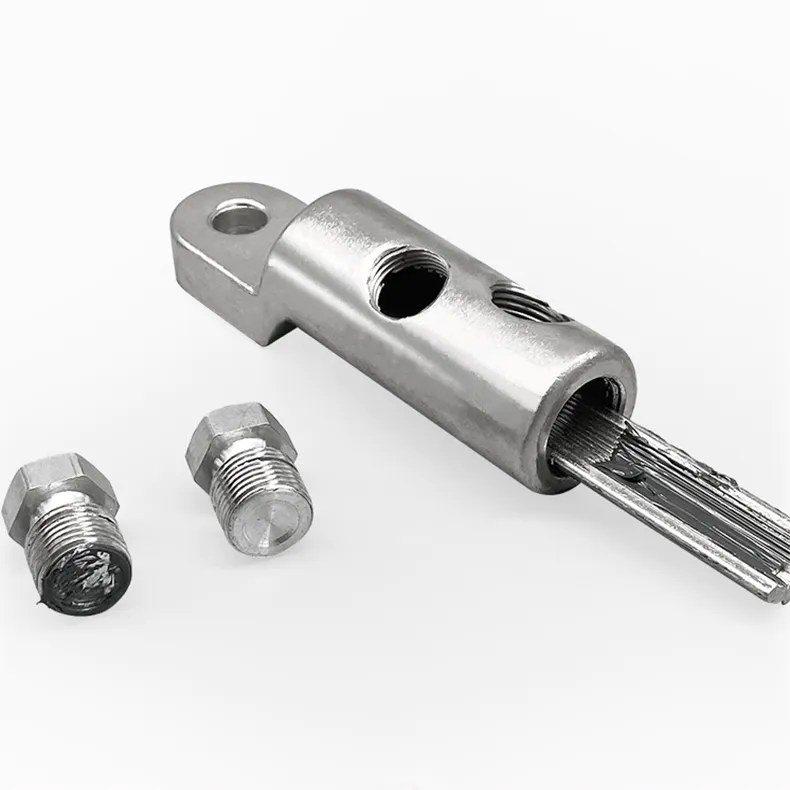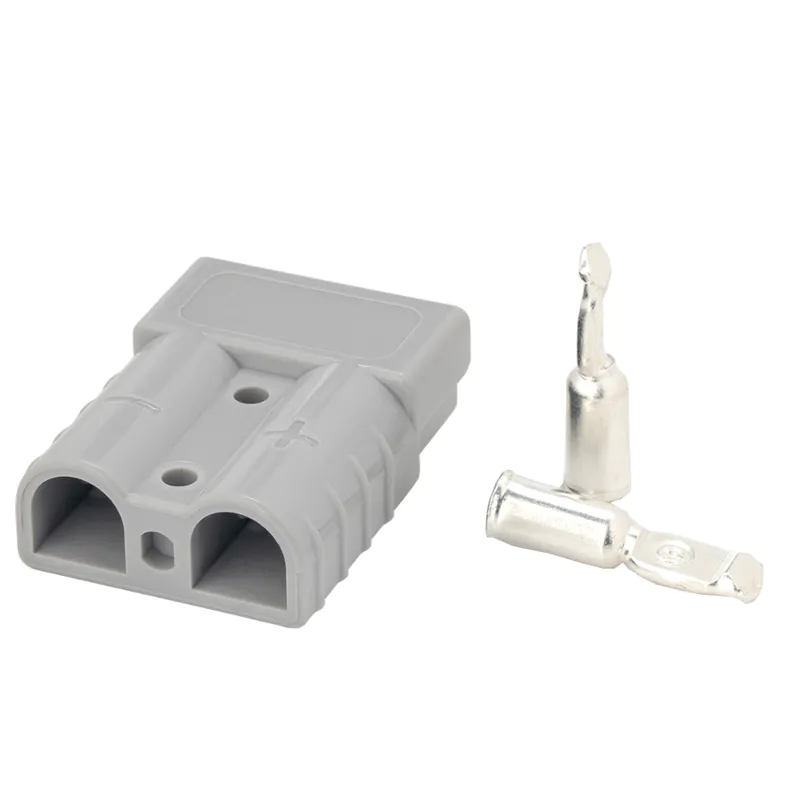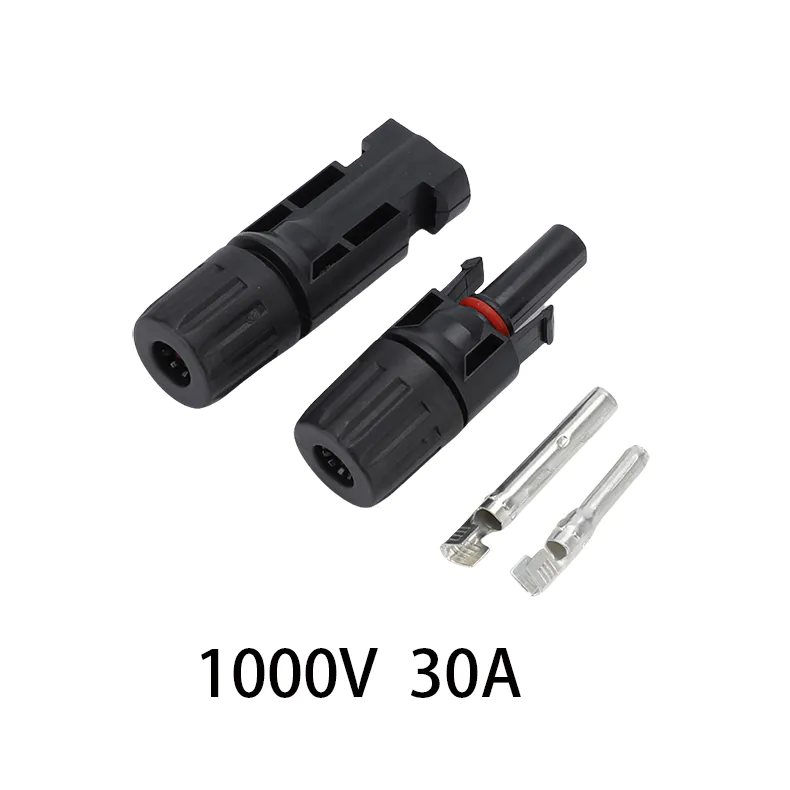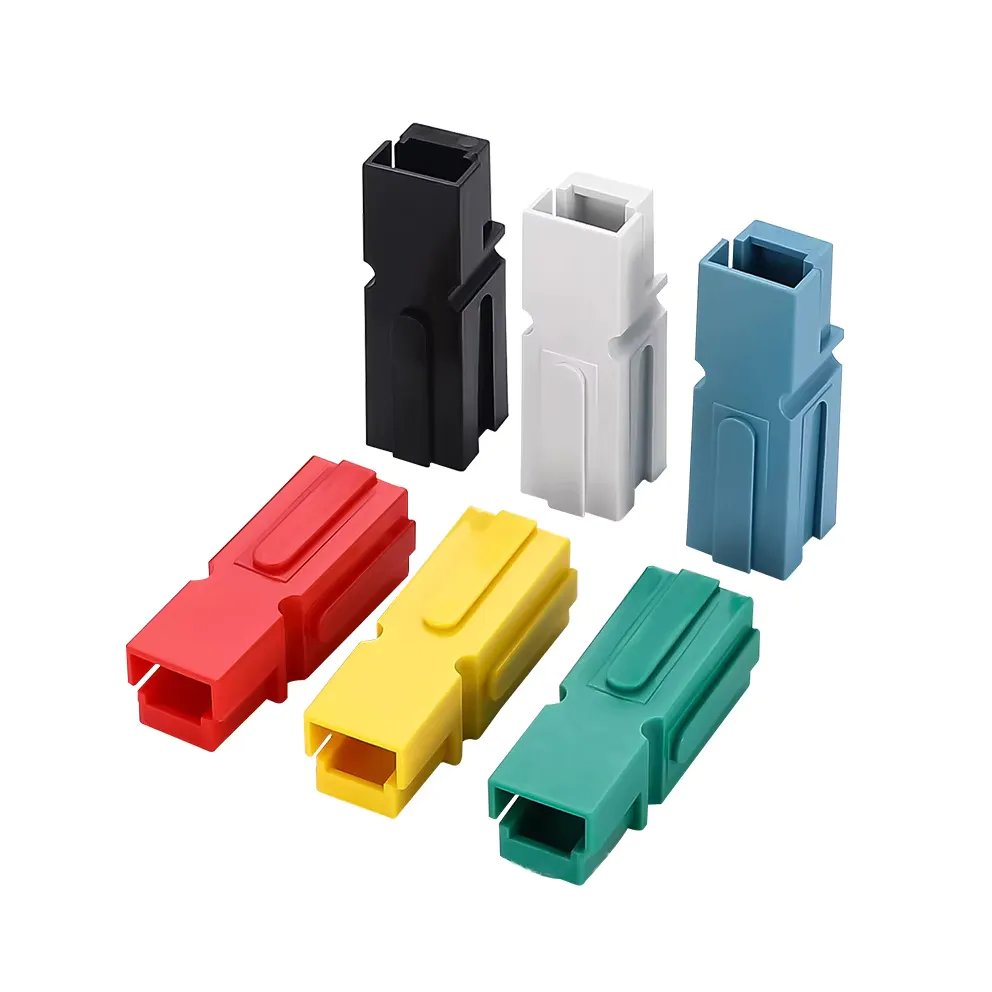
1P Anderson connector(30A75A120A180A)
Electrical Accessories
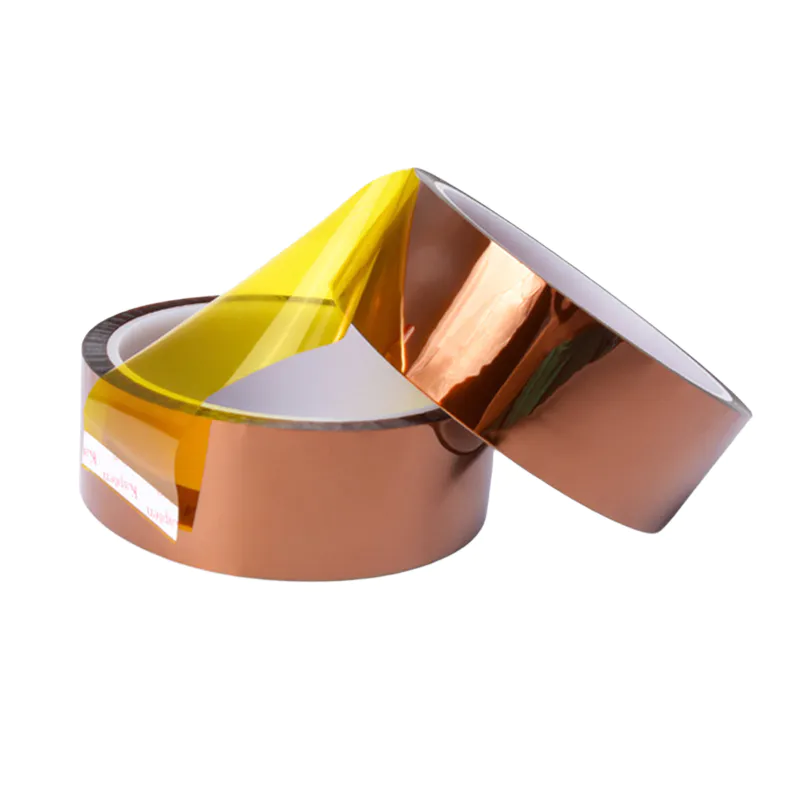
- Tape
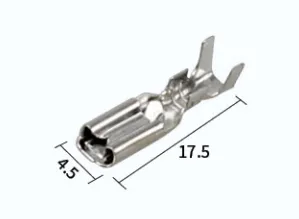
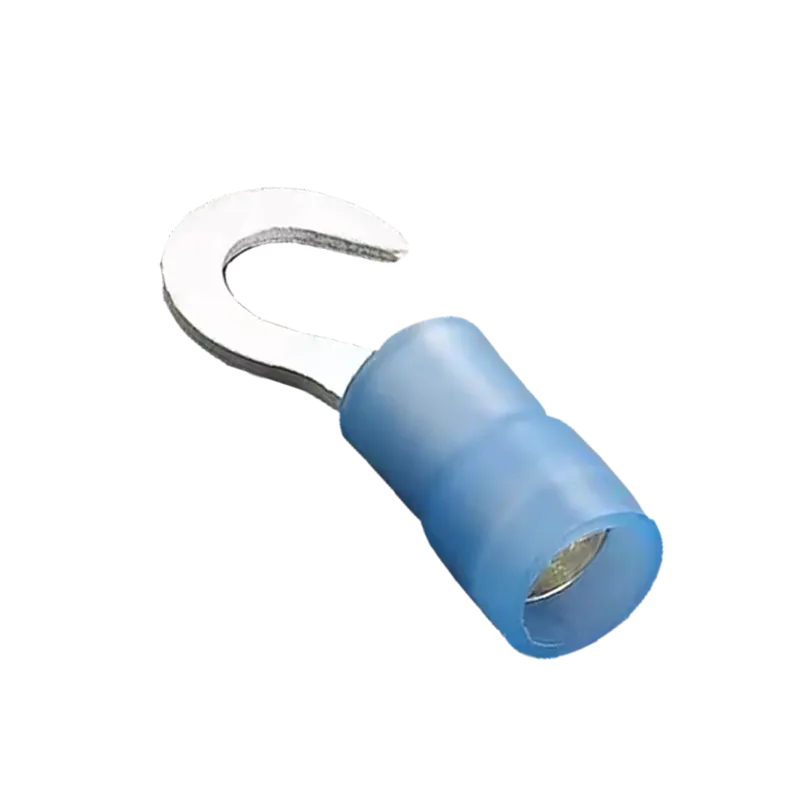
- Terminals & connetors
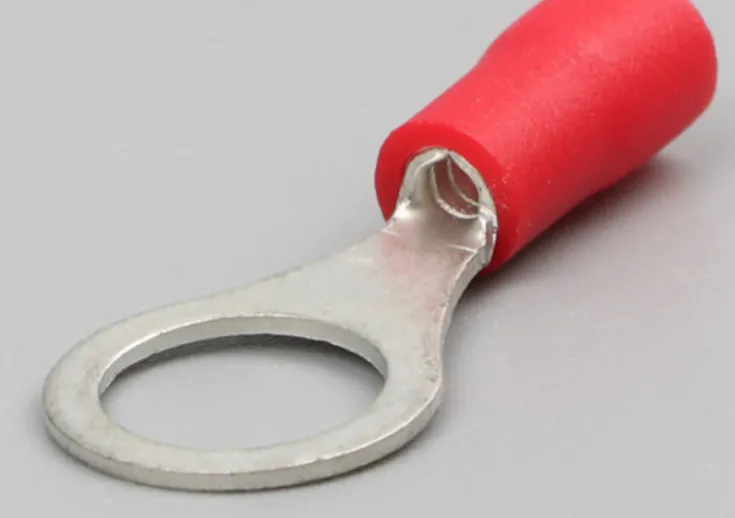
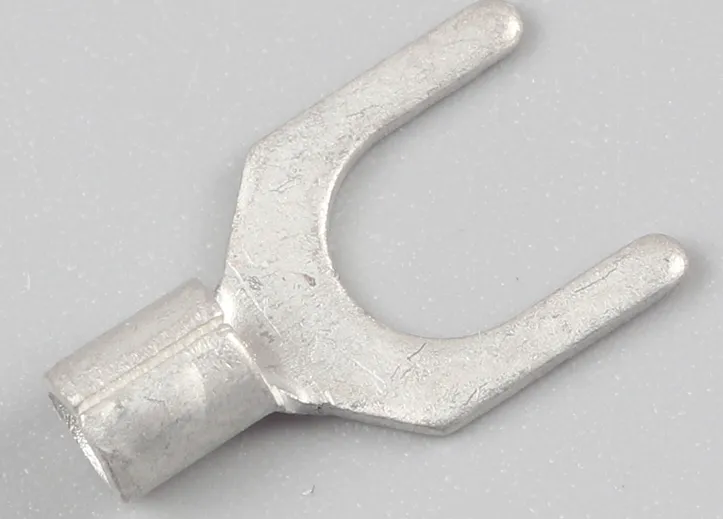
- Cable Lug
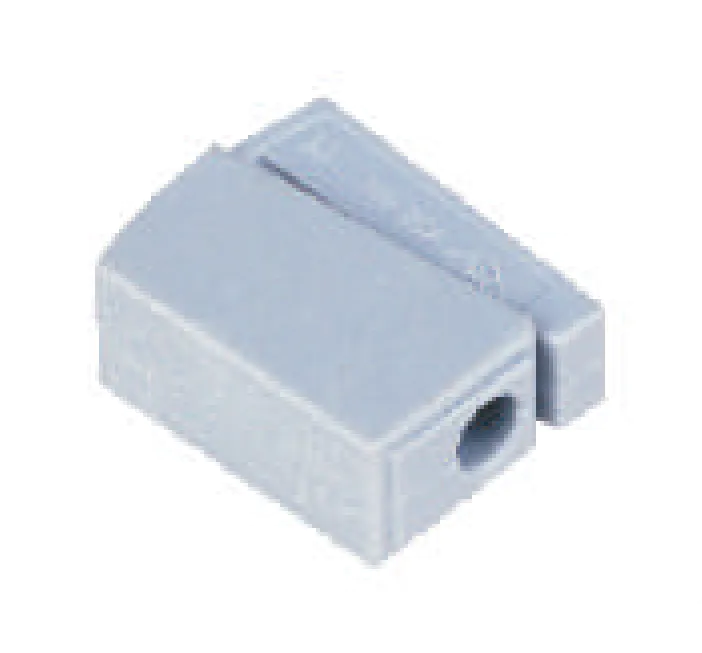
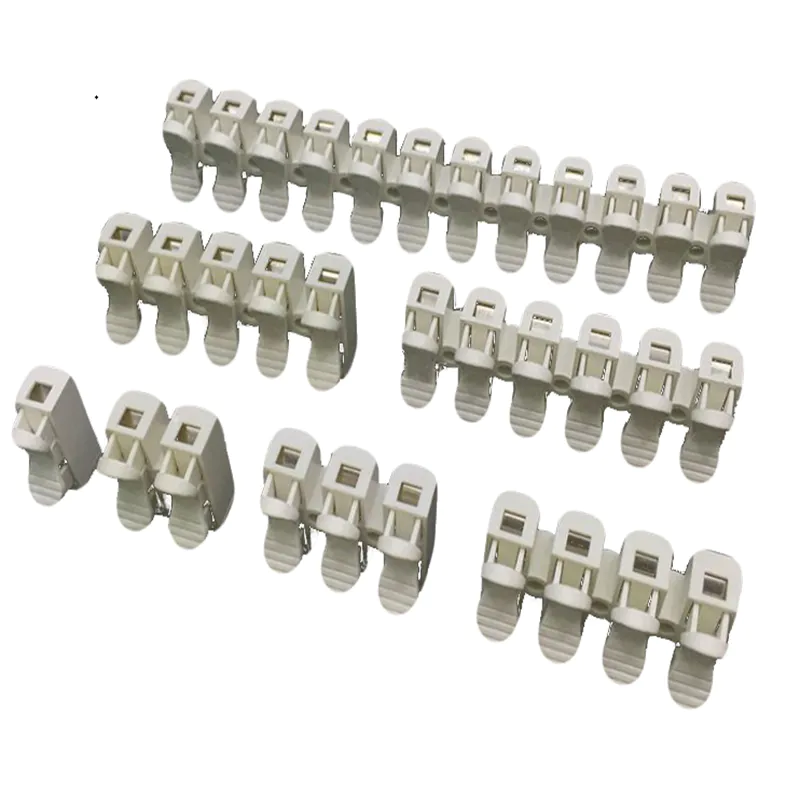
- Terminal block
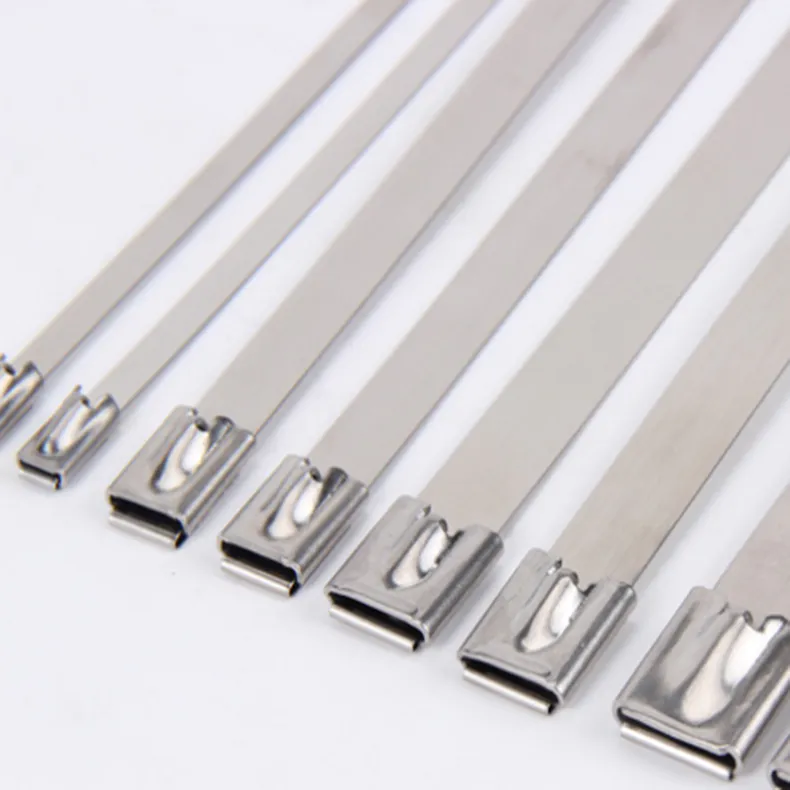
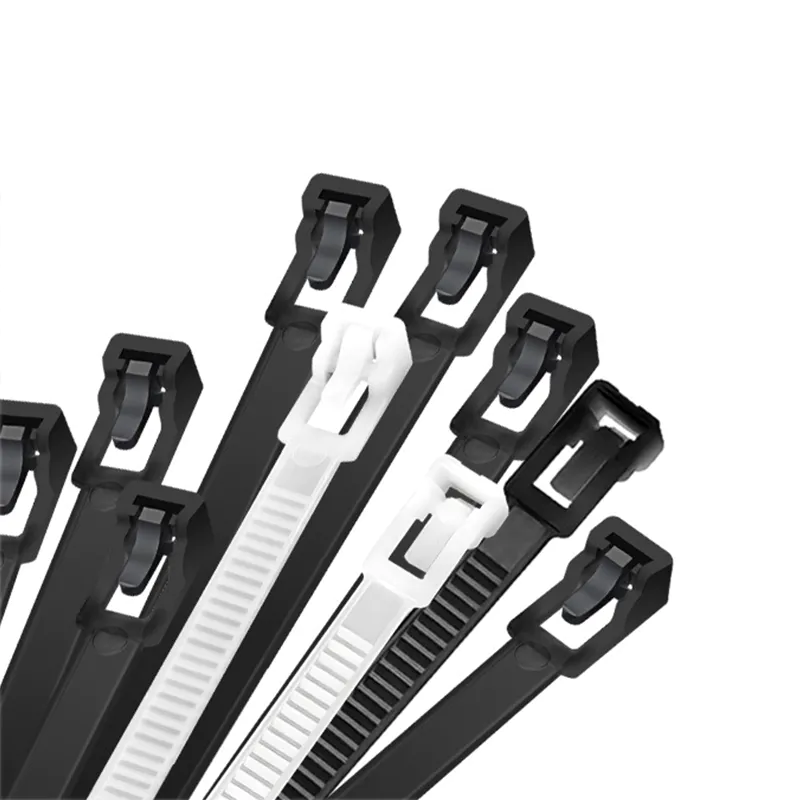
- Cable tie
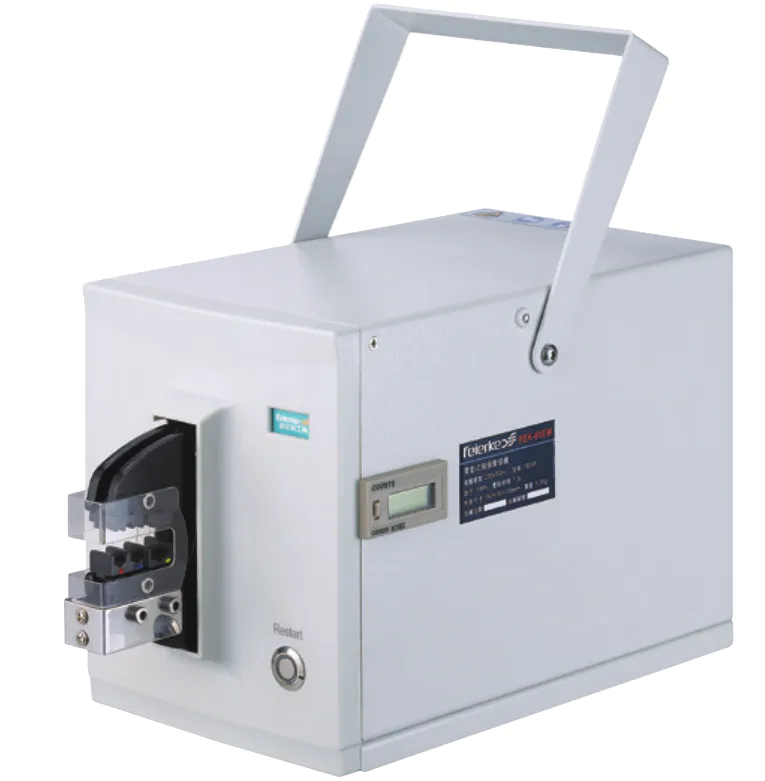
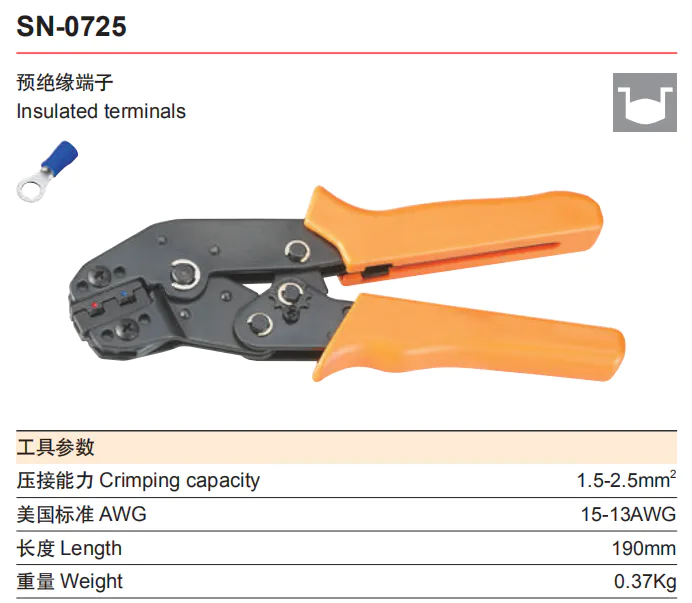
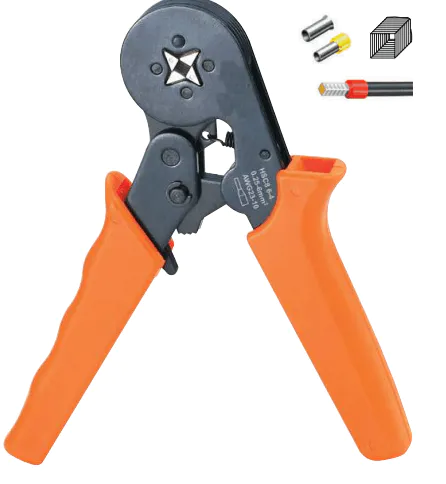
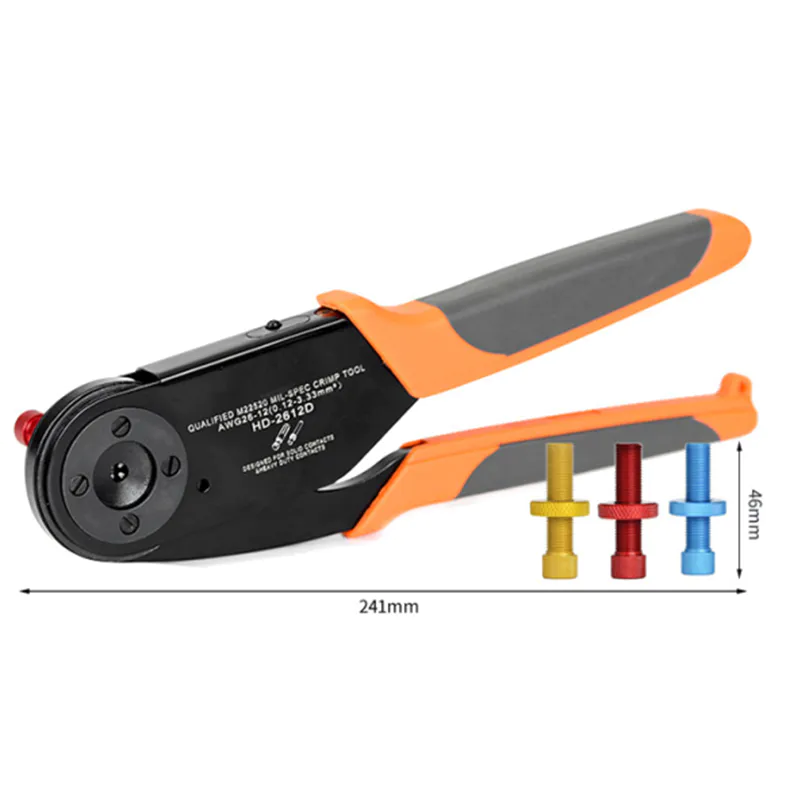
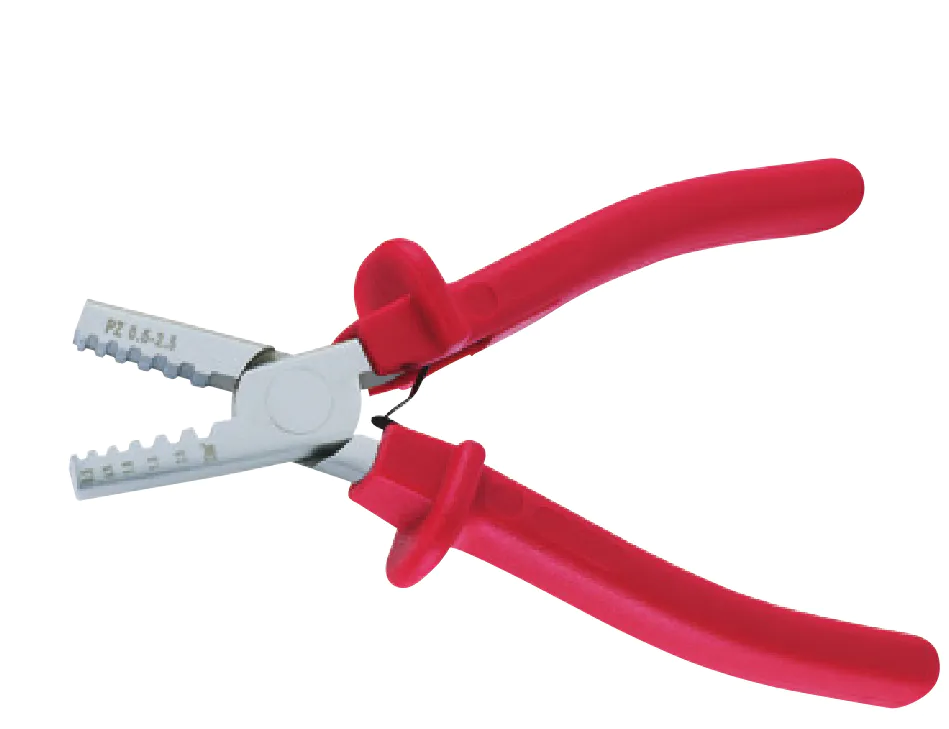
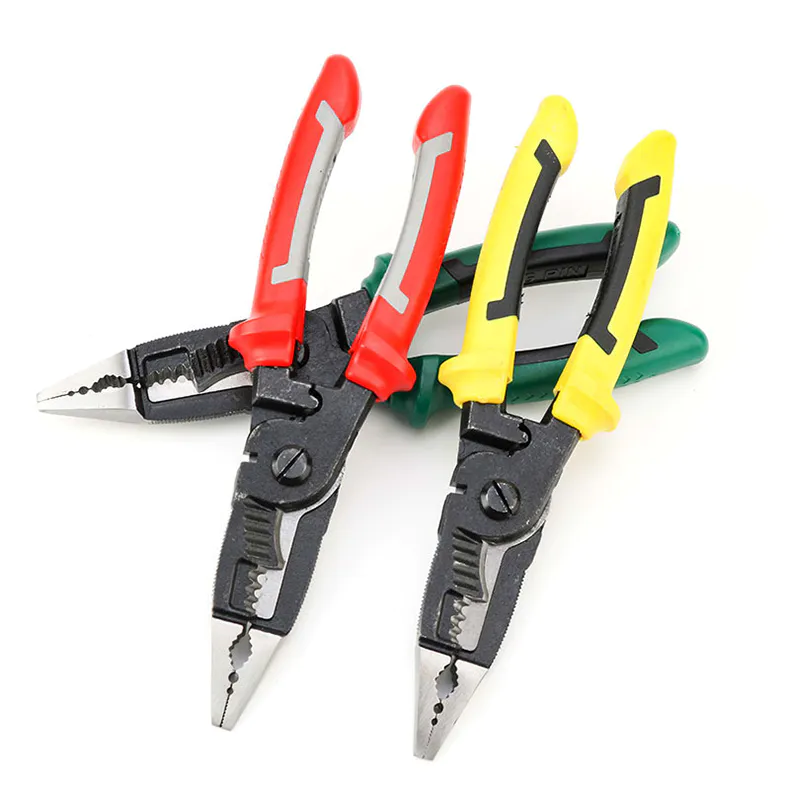
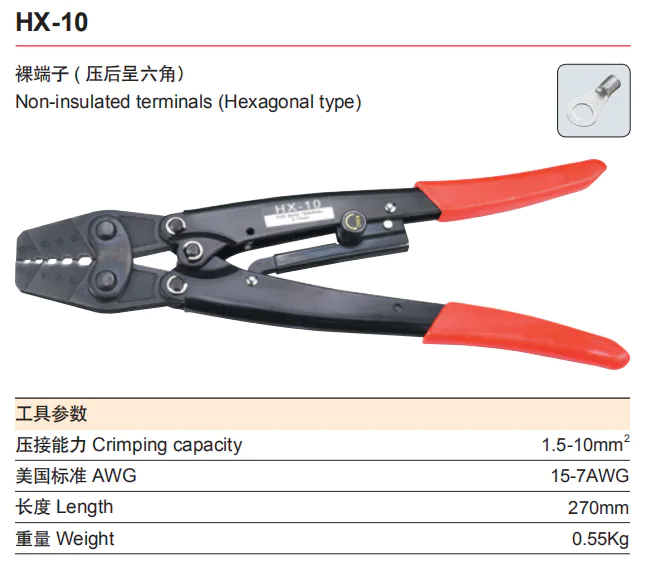
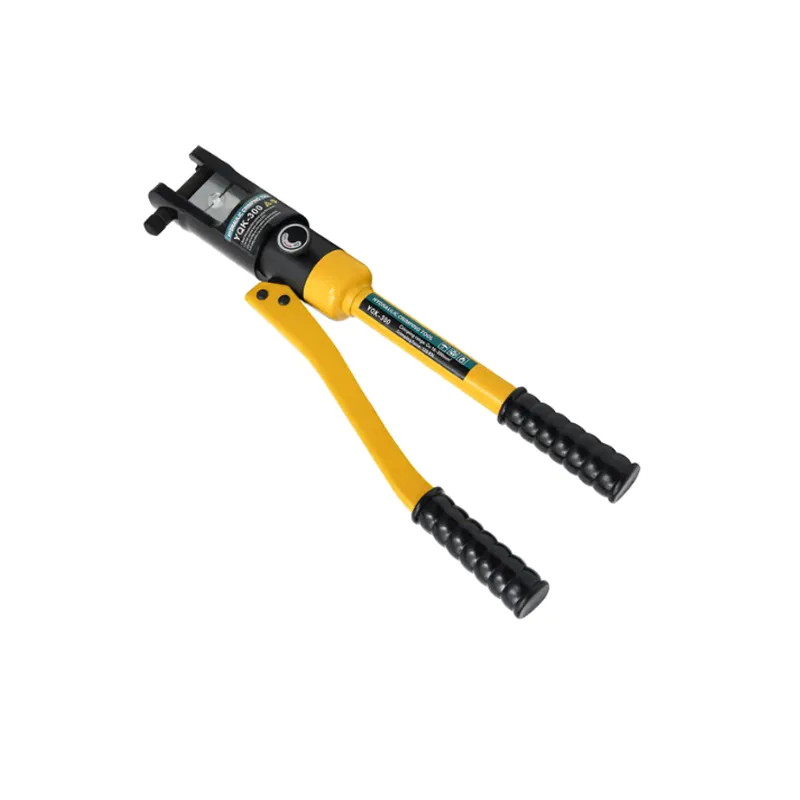
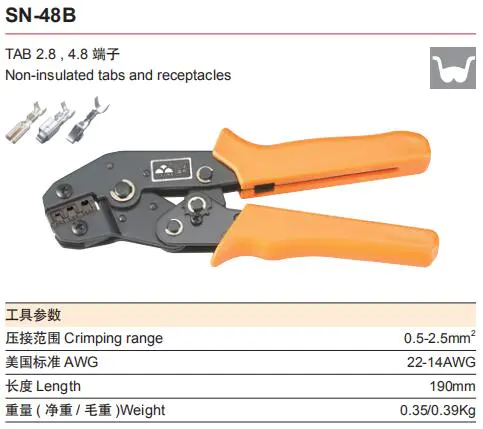
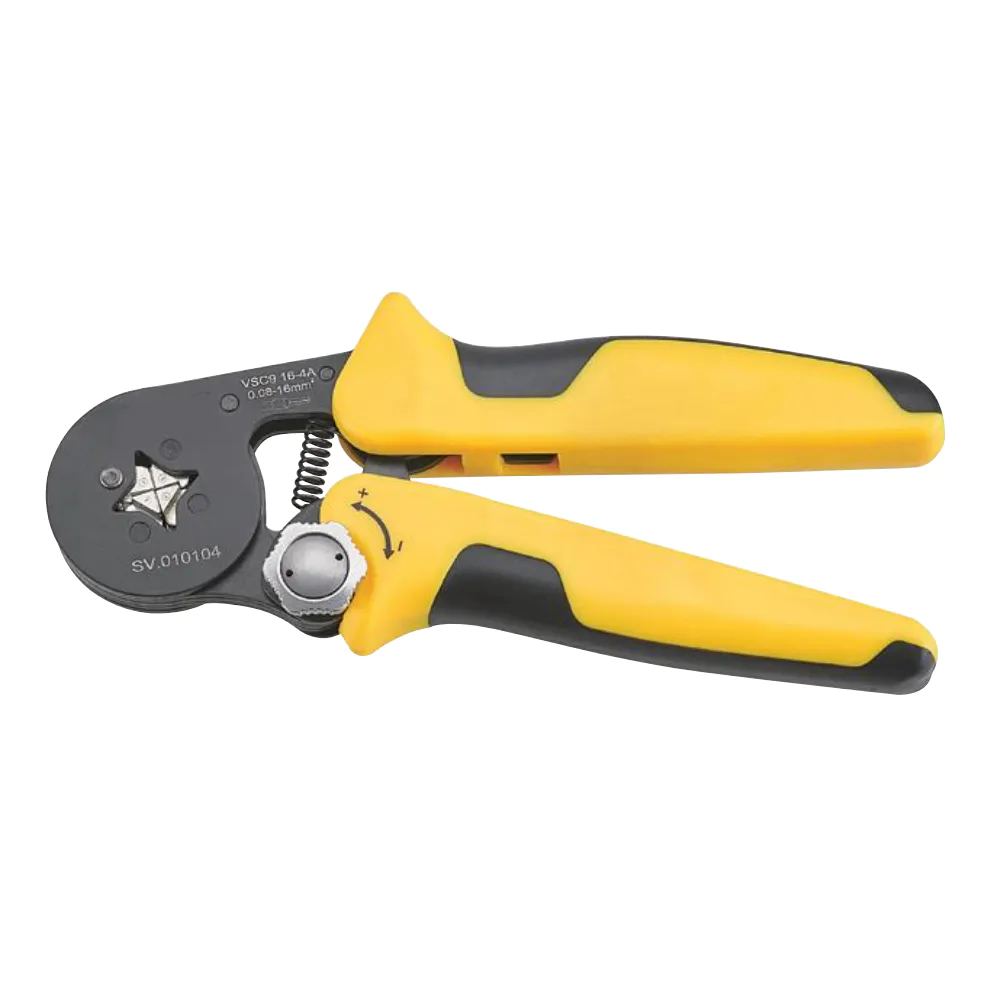
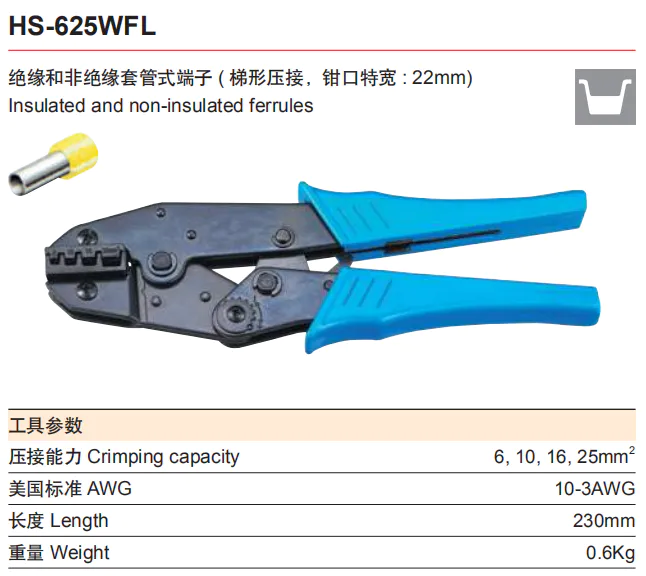
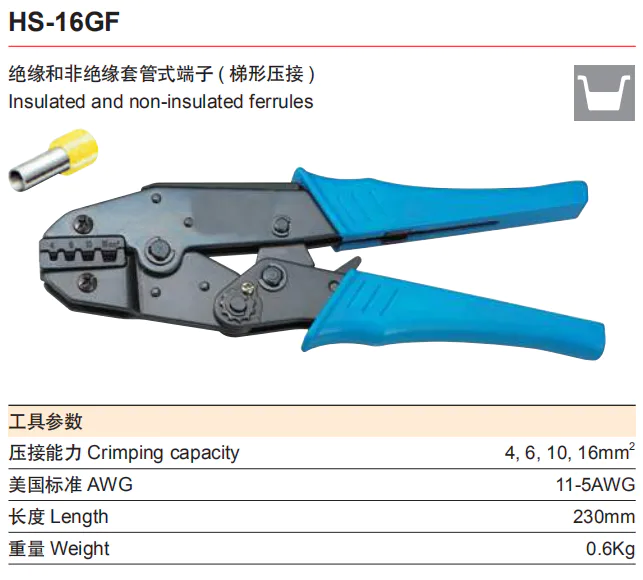
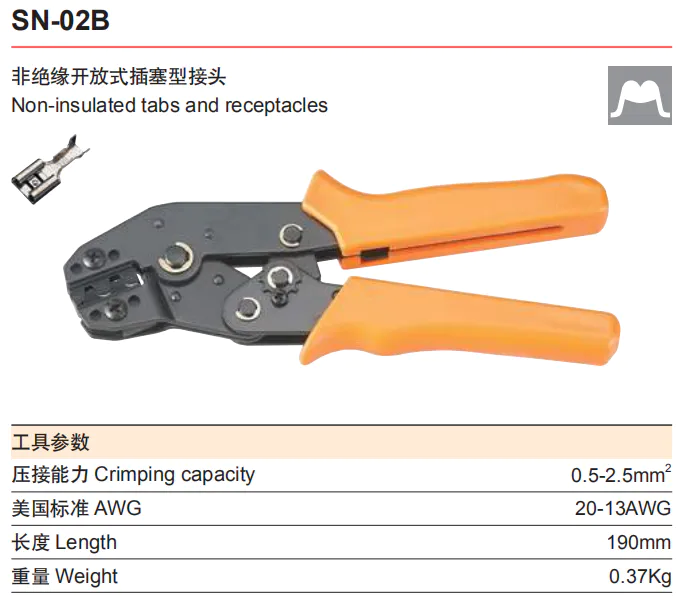
- Crimping tool
- Heat shrinkable tube
- Cable marker
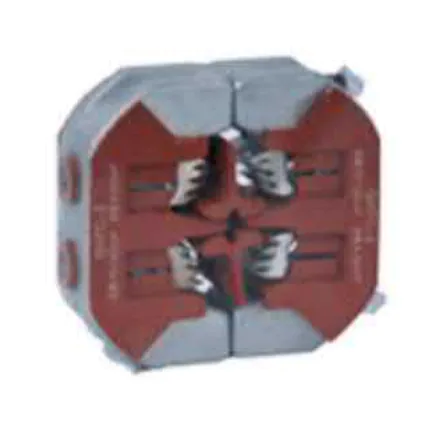
- Junction box
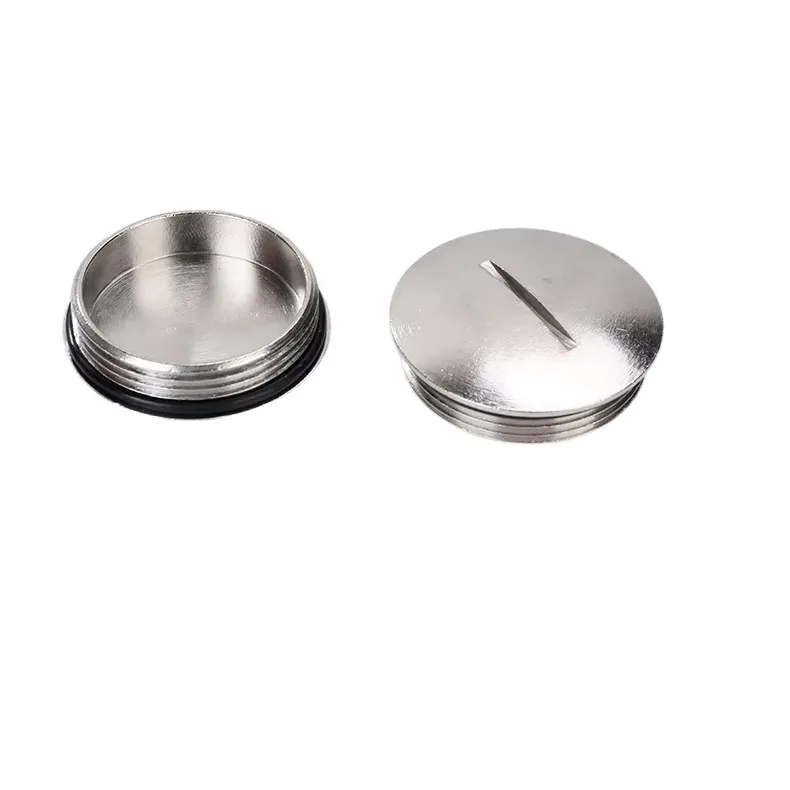
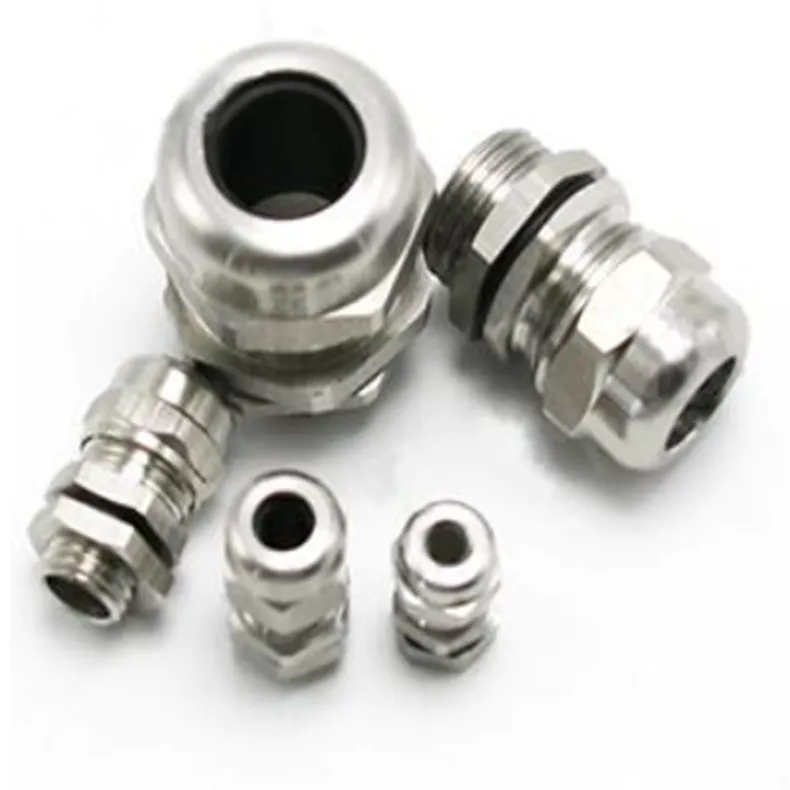
- Cable gland
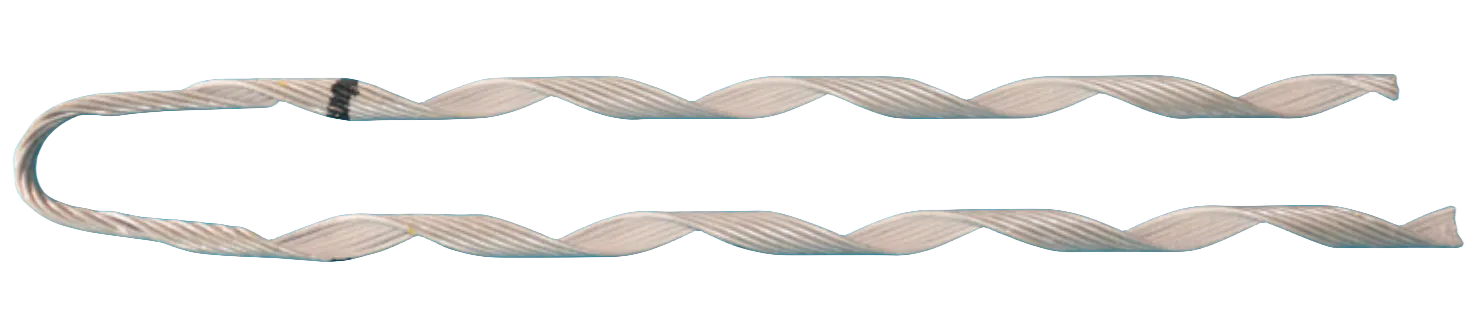
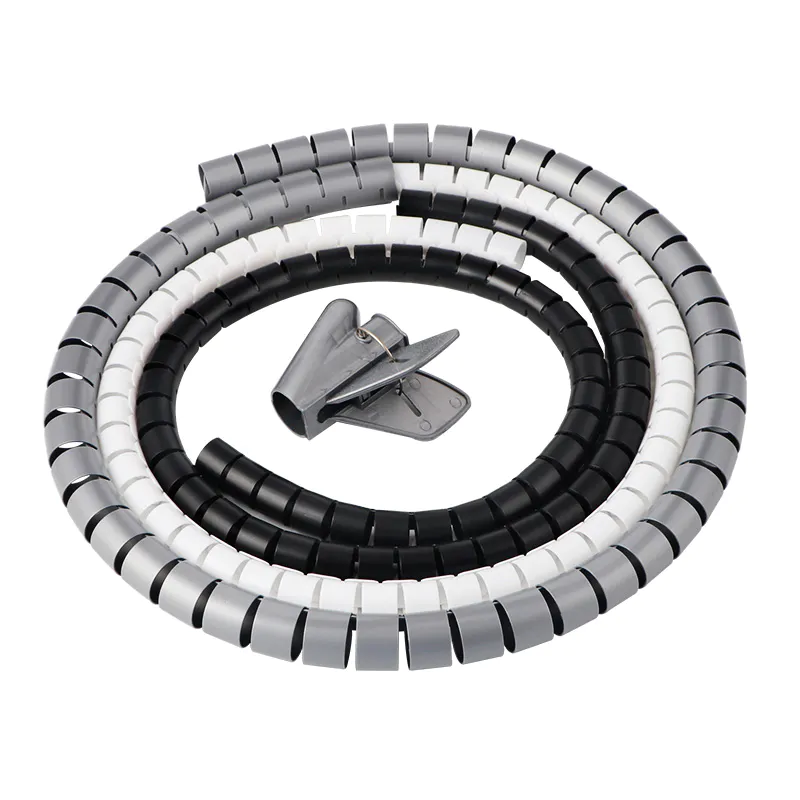
- Corrugated hose & spiral wrap band
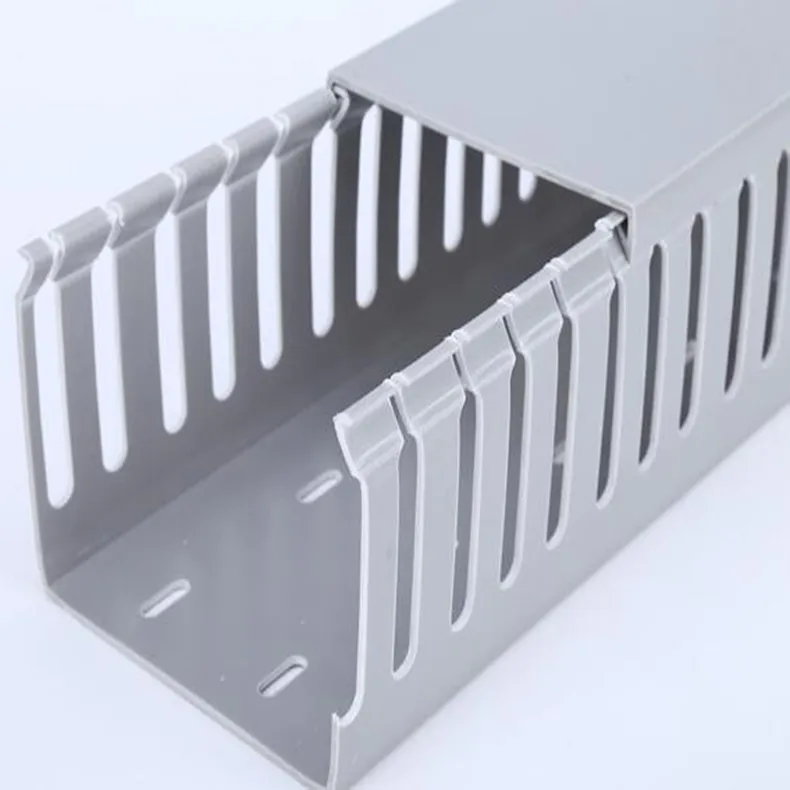
- Wire duct
- Din rail
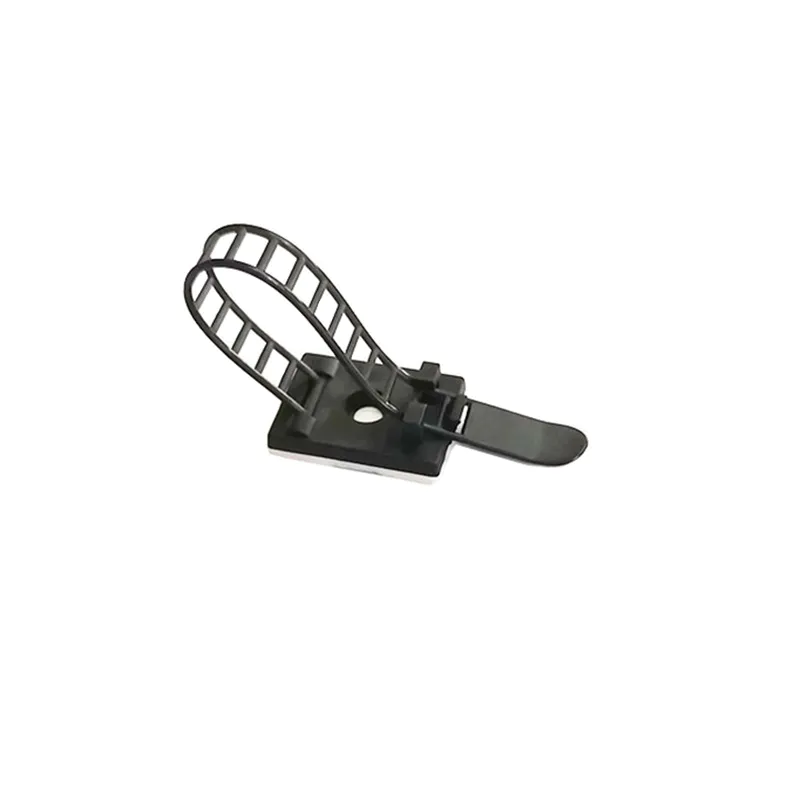
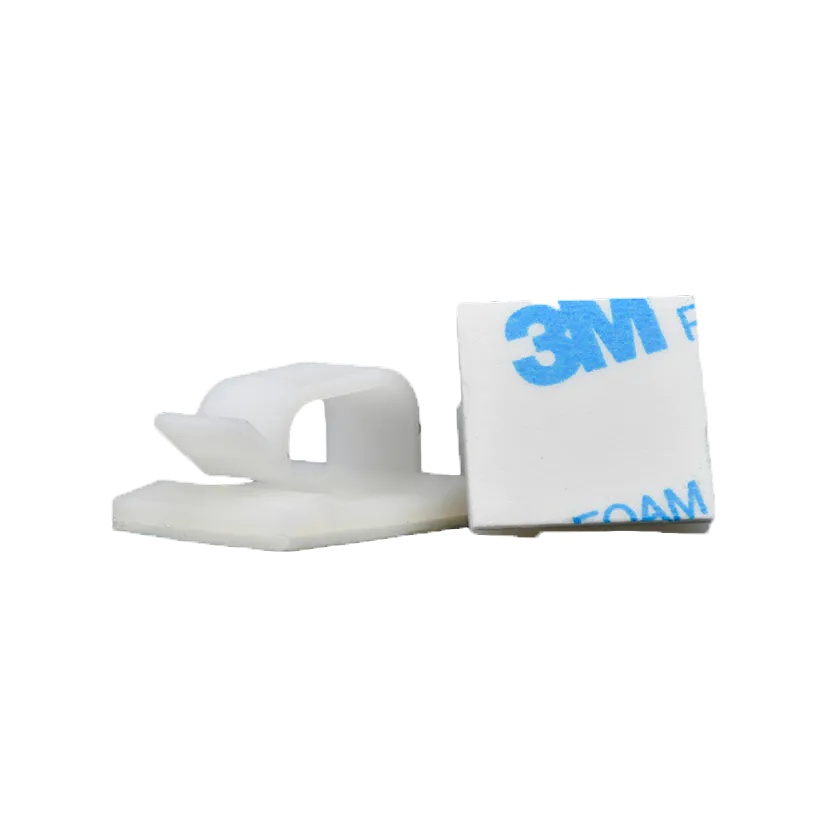
- Cable clips & mount
- Signal light
- Push button switch
- Standoff insulator
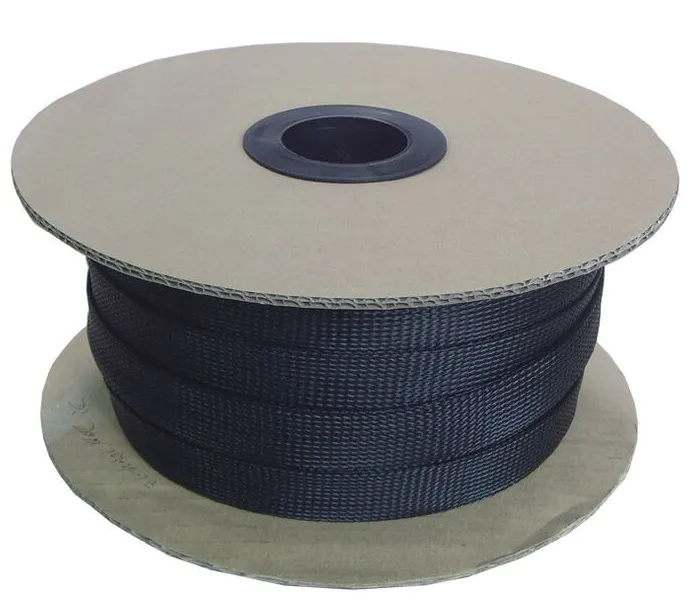
- Pet braided sleeve
- Industrial plug & socket
- Auto fuse
- Others
type2 mennekes to 3 230v sockets: 4 steps (with pictures)
by:MKS
2020-03-04
I have been driving my electric motorcycle for four years.
Yes, charging time has become an important part of deciding to go somewhere by motorcycle or by car or public transport. . .
Since my model is too old to add a charging tank, I decided to create my own charging box :)
There are a lot of charging stations in the Netherlands, where you can easily charge your vehicle with a type 2 connector.
At home I charge with a normal home socket, but on the way, it\'s a very slow option.
In addition, there are not many public power outlets. . .
At the moment, when I carry the adapter with me, I can already use the charging station, but since I only use one stage, it still charges slowly.
So, let\'s use all 3 stages of the charging station by creating our own adapter!
First of all, I need to add a topase (
I have)
I have a top luggage rack on my bike so I can easily carry the charger.
I will not focus on this issue now.
It took some time to find a company willing to sell me a Type 2 connector that can be assembled by itself.
After contacting Laadkabelfabriek, we even went through e-
Email about possibility :)
So I purchased my type 2 from \"laadkabelfabriek\" in the Netherlands.
This is not the default part you can order through the web store, so just send them an email :)
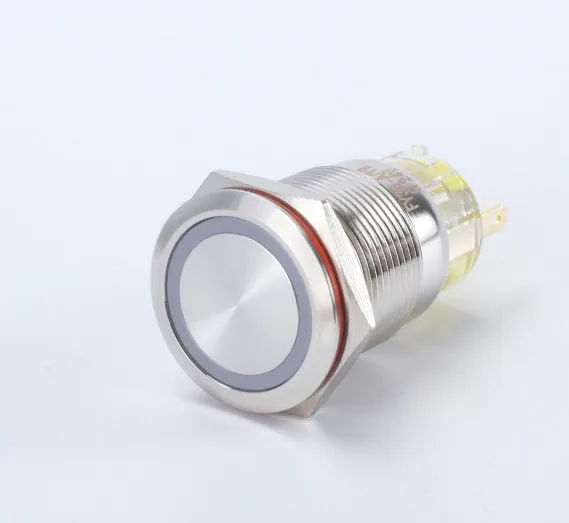
I decided to buy the version with the start/stop charging key.
Ideally I don\'t need it because most charging stations in the Netherlands start/stop with a card or button.
But to make sure my cable never gets stuck in the charging station, I ordered this feature.
I find it hard to find these bare type 2 connectors. . . (
Any purchase suggestions are welcome, please leave a comment)
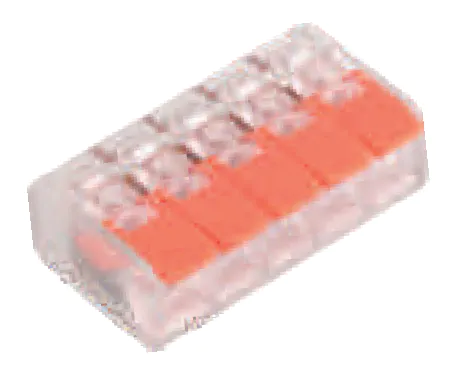
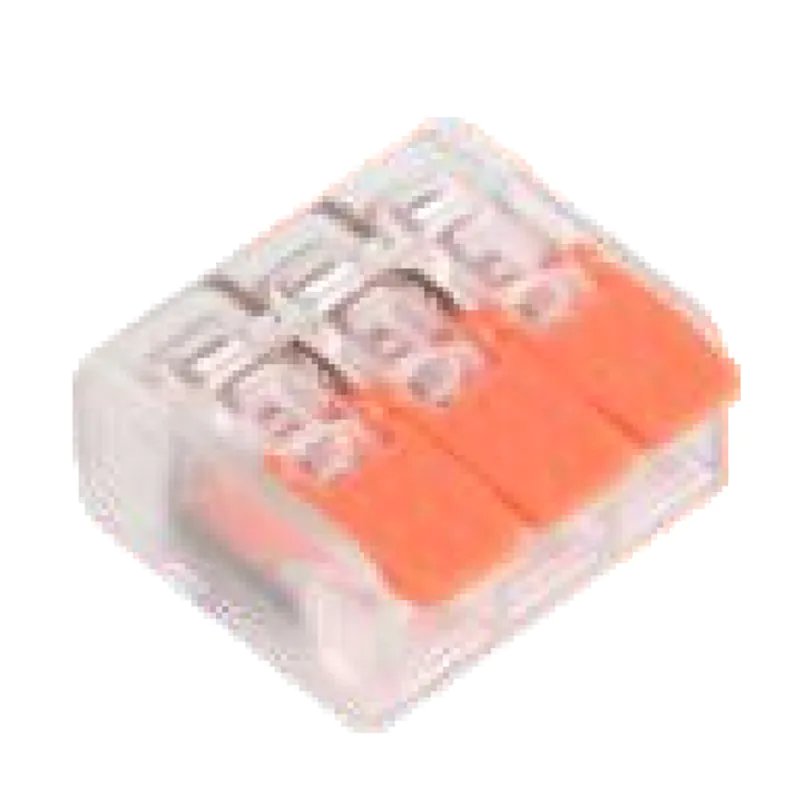
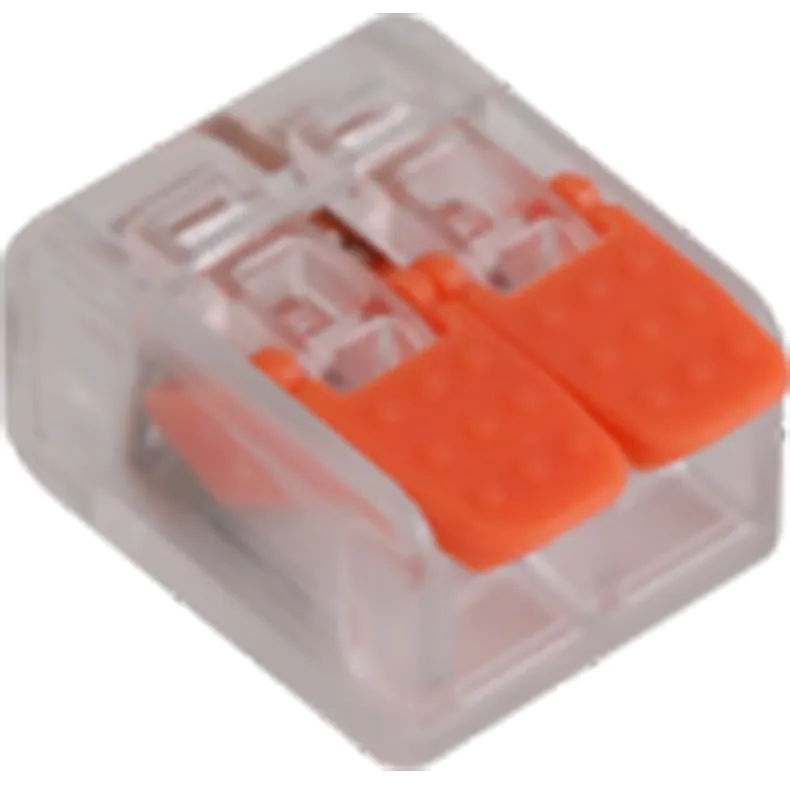
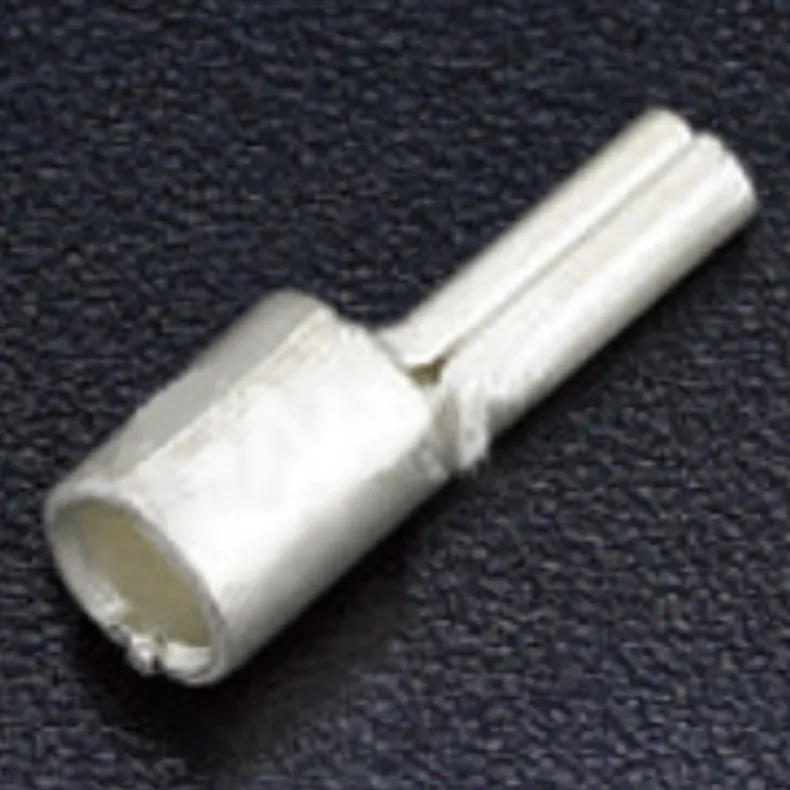
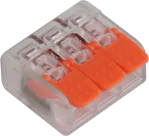
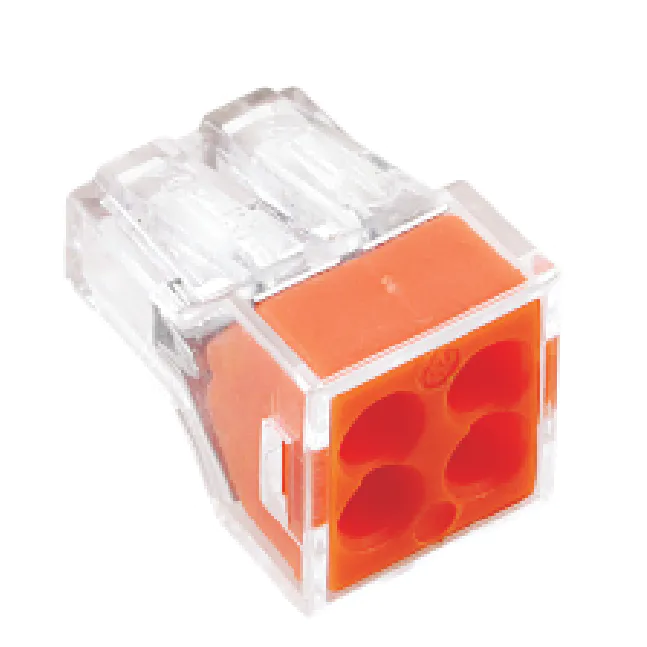
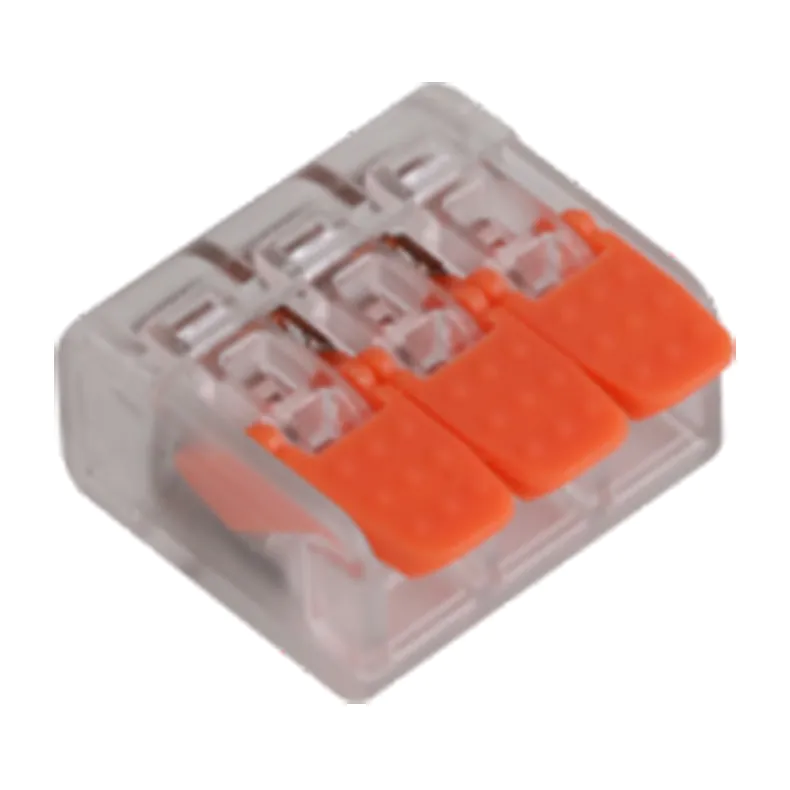
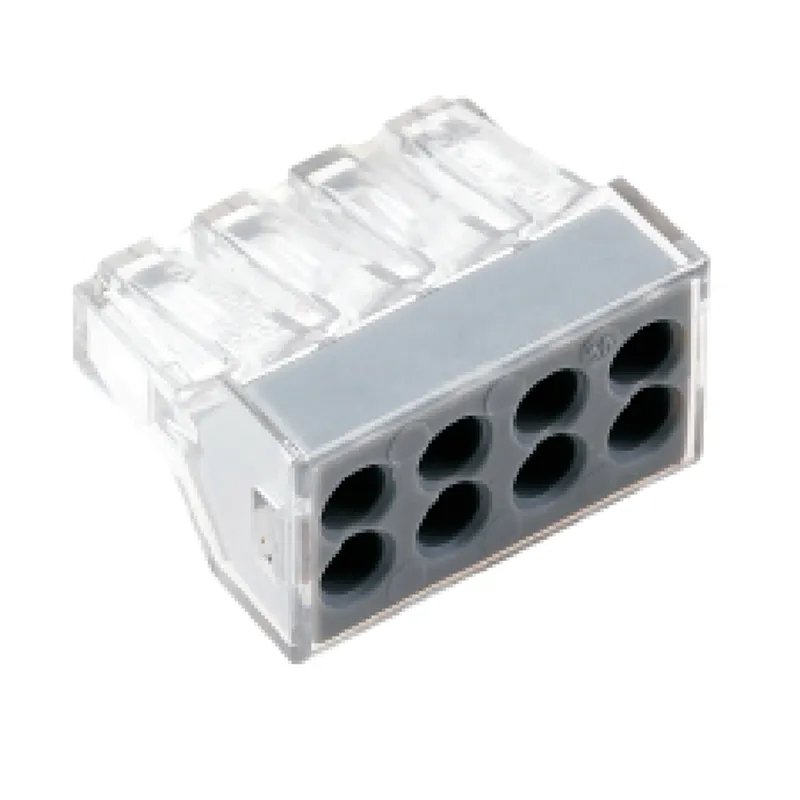
MORE: prepare cables with cable end sleeves to ensure a good connection to the Wago Junction box.
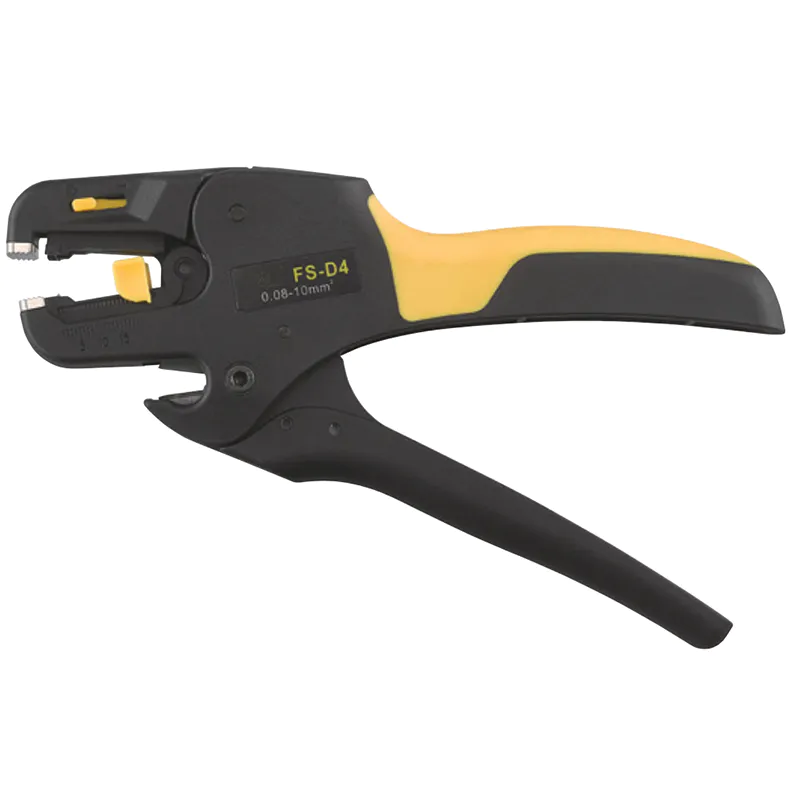
I stripped about 10 cm of the cable to achieve some flexibility within the Housing (
What you need! ).
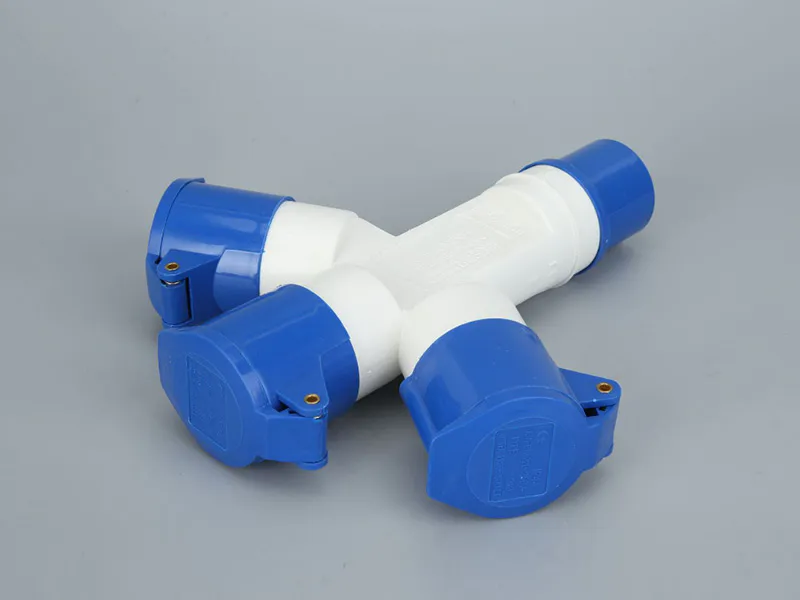
Add the socket to the other side.
Before starting to connect the cable, place the cable gland around the cable :)
Connect the cable for grounding (
Yellow and Green)
Junction box with yellow/green wire on connector.
Do the same for the blue cable.
3 cables need to do this.
Therefore, you will have a junction box with 4 yellow/green ground wires and a junction box with 4 blue wires.
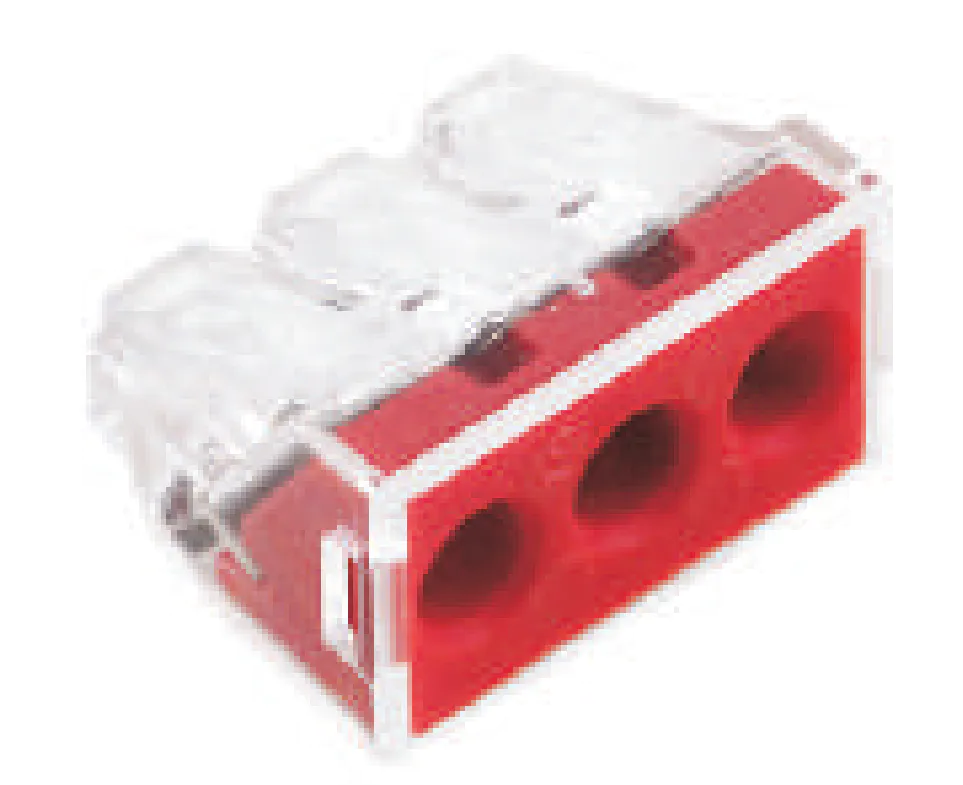
The Brown wire should be connected to 3 separate terminal blocks (
Only 2 slots).
I don\'t know if this is important, but I connect the cca cable to L1 as this is the one that is directly connected to my bike.
After completing all the wiring, try to arrange everything neatly and slide the cable gland to the connector housing.
You should be able to close the house without excessive power! Re-
Arrange the wire when it is not neatly closed!
Now your cable should be like this.
I\'m still thinking about the ideal length of my app.
An adapter was purchased to be more flexible between schuko and c13.
So for now I have a socket left that I can use to charge my phone or use any tool I can think. . .
How about connecting an electric barbecue? !
I will probably buy a second charger to charge faster! To do/improve (
Mainly beautiful or practical improvement)
Yes, charging time has become an important part of deciding to go somewhere by motorcycle or by car or public transport. . .
Since my model is too old to add a charging tank, I decided to create my own charging box :)
There are a lot of charging stations in the Netherlands, where you can easily charge your vehicle with a type 2 connector.
At home I charge with a normal home socket, but on the way, it\'s a very slow option.
In addition, there are not many public power outlets. . .
At the moment, when I carry the adapter with me, I can already use the charging station, but since I only use one stage, it still charges slowly.
So, let\'s use all 3 stages of the charging station by creating our own adapter!
First of all, I need to add a topase (
I have)
I have a top luggage rack on my bike so I can easily carry the charger.
I will not focus on this issue now.
It took some time to find a company willing to sell me a Type 2 connector that can be assembled by itself.
After contacting Laadkabelfabriek, we even went through e-
Email about possibility :)
So I purchased my type 2 from \"laadkabelfabriek\" in the Netherlands.
This is not the default part you can order through the web store, so just send them an email :)
I decided to buy the version with the start/stop charging key.
Ideally I don\'t need it because most charging stations in the Netherlands start/stop with a card or button.
But to make sure my cable never gets stuck in the charging station, I ordered this feature.
I find it hard to find these bare type 2 connectors. . . (
Any purchase suggestions are welcome, please leave a comment)
MORE: prepare cables with cable end sleeves to ensure a good connection to the Wago Junction box.
I stripped about 10 cm of the cable to achieve some flexibility within the Housing (
What you need! ).
Add the socket to the other side.
Before starting to connect the cable, place the cable gland around the cable :)
Connect the cable for grounding (
Yellow and Green)
Junction box with yellow/green wire on connector.
Do the same for the blue cable.
3 cables need to do this.
Therefore, you will have a junction box with 4 yellow/green ground wires and a junction box with 4 blue wires.
The Brown wire should be connected to 3 separate terminal blocks (
Only 2 slots).
I don\'t know if this is important, but I connect the cca cable to L1 as this is the one that is directly connected to my bike.
After completing all the wiring, try to arrange everything neatly and slide the cable gland to the connector housing.
You should be able to close the house without excessive power! Re-
Arrange the wire when it is not neatly closed!
Now your cable should be like this.
I\'m still thinking about the ideal length of my app.
An adapter was purchased to be more flexible between schuko and c13.
So for now I have a socket left that I can use to charge my phone or use any tool I can think. . .
How about connecting an electric barbecue? !
I will probably buy a second charger to charge faster! To do/improve (
Mainly beautiful or practical improvement)
Custom message
Related Products